Google Drive Connector #
Register Google Drive Connector #
curl -XPOST "http://localhost:9000/connector" -d '{
    "name": "Google Drive Connector",
    "description": "Fetch the files metadata from Google Drive.",
    "icon": "/assets/connector/google_drive/icon.png",
    "path_hierarchy":false,
    "category": "cloud_storage",
    "tags": [
        "google",
        "storage"
    ],
    "url": "http://coco.rs/connectors/google_drive",
    "assets": {
        "icons": {
            "default": "/assets/connector/google_drive/icon.png",
            "audio": "/assets/connector/google_drive/audio.png",
            "form": "/assets/connector/google_drive/form.png",
            "document": "/assets/connector/google_drive/document.png",
            "drawing": "/assets/connector/google_drive/drawing.png",
            "folder": "/assets/connector/google_drive/folder.png",
             "fusiontable": "/assets/connector/google_drive/fusiontable.png",
             "jam": "/assets/connector/google_drive/jam.png",
             "map": "/assets/connector/google_drive/map.png",
             "ms_excel": "/assets/connector/google_drive/ms_excel.png",
             "ms_powerpoint": "/assets/connector/google_drive/ms_powerpoint.png",
             "ms_word": "/assets/connector/google_drive/ms_word.png",
             "pdf": "/assets/connector/google_drive/pdf.png",
             "photo": "/assets/connector/google_drive/photo.png",
            "presentation": "/assets/connector/google_drive/presentation.png",
            "script": "/assets/connector/google_drive/script.png",
            "site": "/assets/connector/google_drive/site.png",
            "spreadsheet": "/assets/connector/google_drive/spreadsheet.png",
            "video": "/assets/connector/google_drive/video.png",
            "zip": "/assets/connector/google_drive/zip.png"
        }
    },
  "oauth_connect_implemented": true,
  "processor":{
     "enabled":true,
     "name":"google_drive"
  }
}'
Obtain Google Drive credentials #
To use the Google Drive Connector, follow these steps to obtain your token: Google Drive API Quickstart.
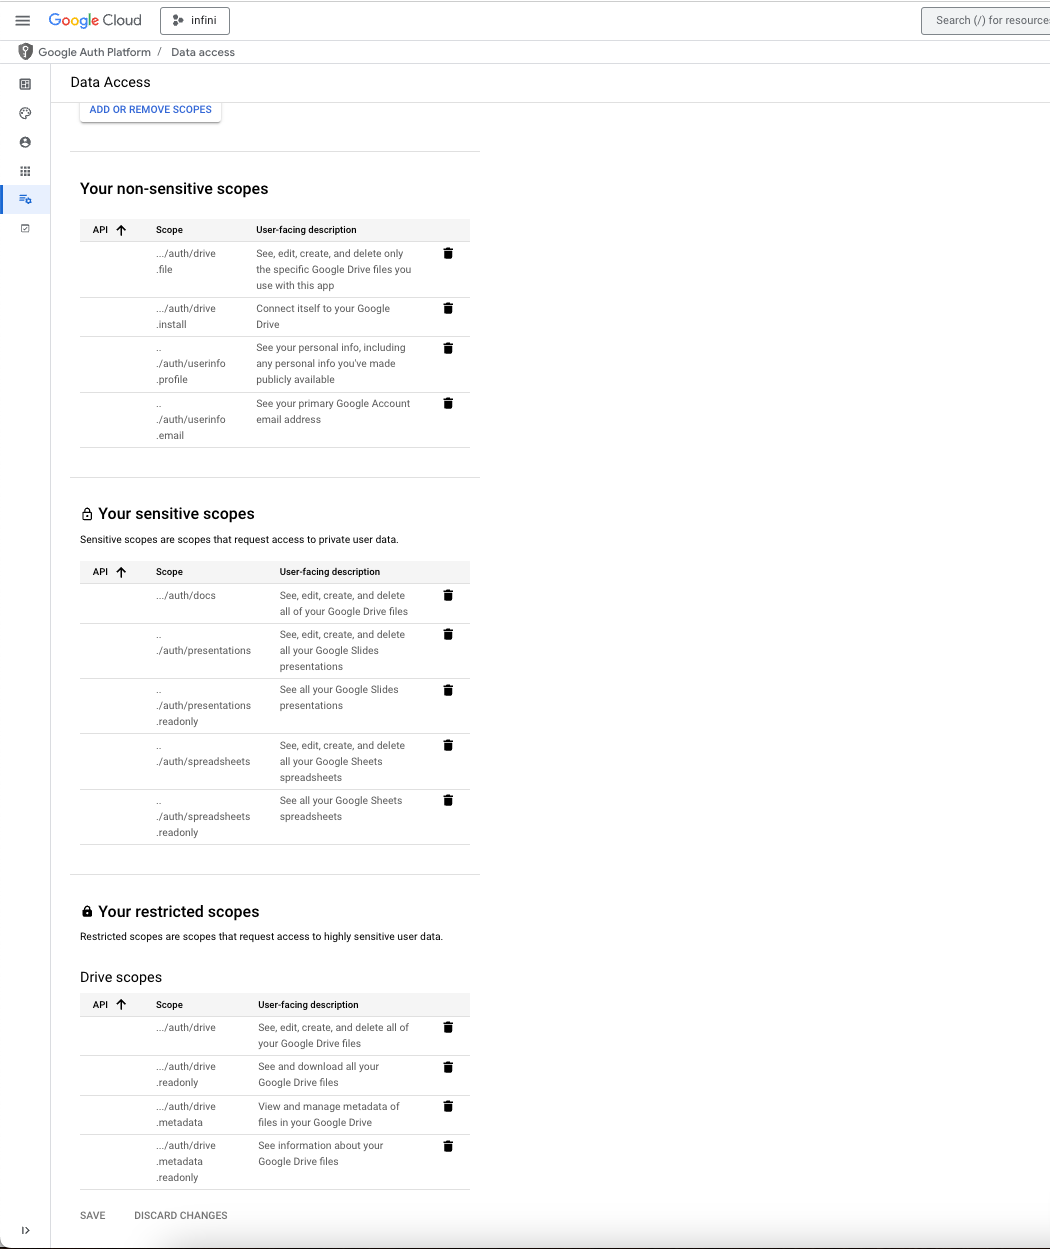
- Create your own Google OAuth App, set the Data Access as shown in the following screenshot:
- Set the Authorized Redirect URIs as shown in the following screenshot:
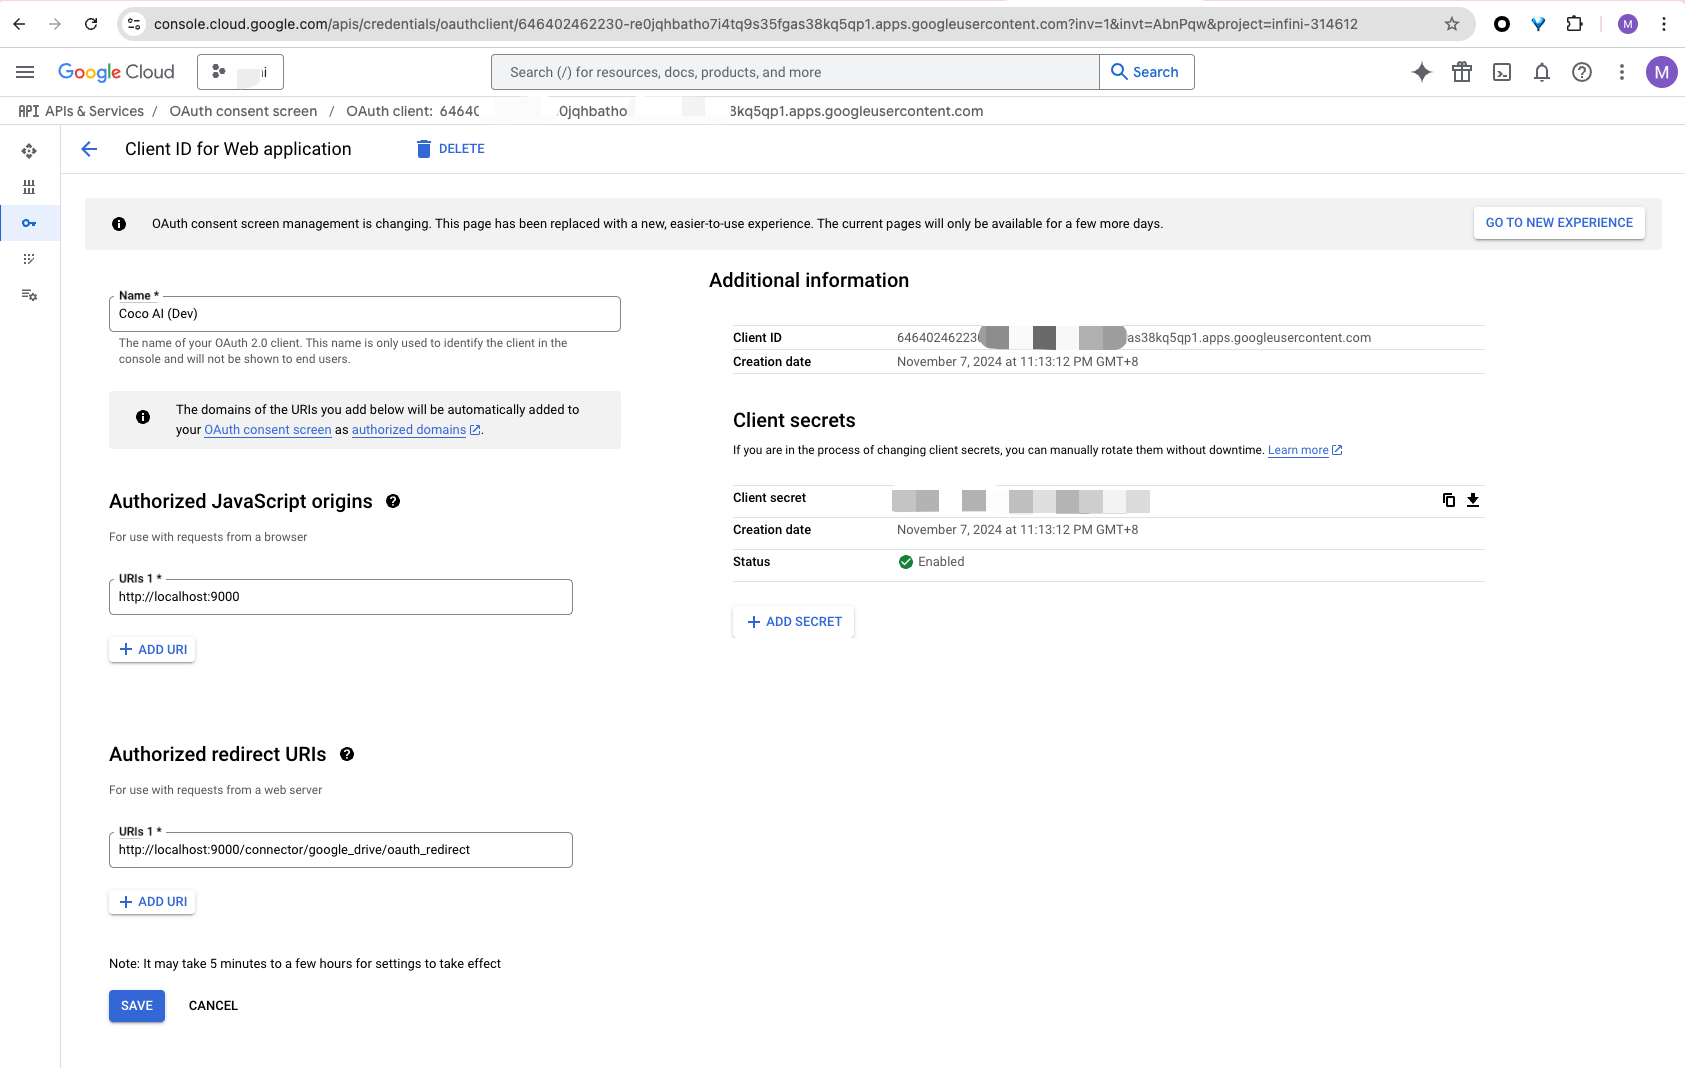
The Google Drive connector uses
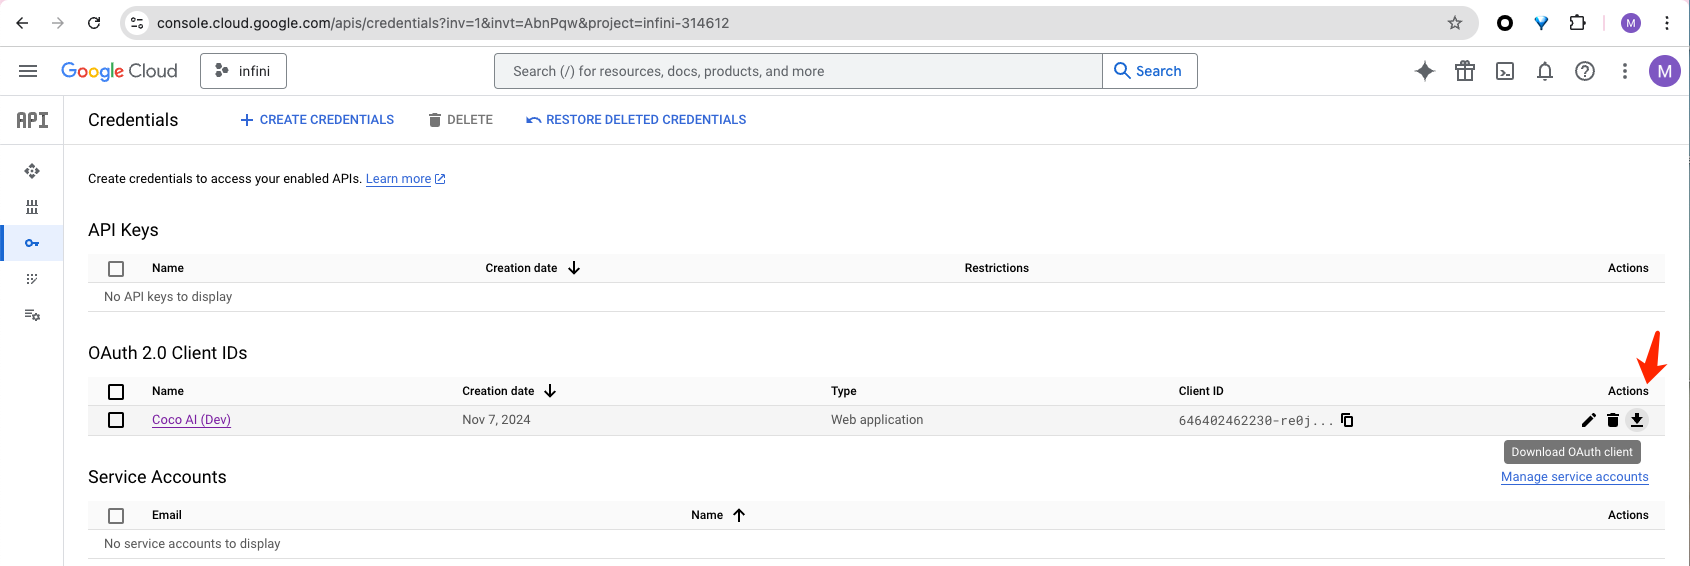
/connector/google_drive/oauth_redirectas the callback URL to receive authorization responses.Once the token is successfully obtained, download the
credentials.jsonfile.
Important Notes: #
- If you deploy the coco-server in your production environment, ensure you:
- Update the domain name accordingly.
- Adjust the callback URL or configure a custom prefix if you have an Nginx instance in front of the server.
Register Google Drive Connector #
Starting from version 0.4.0, Coco Server includes the Google Drive Connector as a built-in feature.
Step 1: Access Connector Settings #
After installation and initialization, navigate to the Coco Server admin panel:
As shown below:
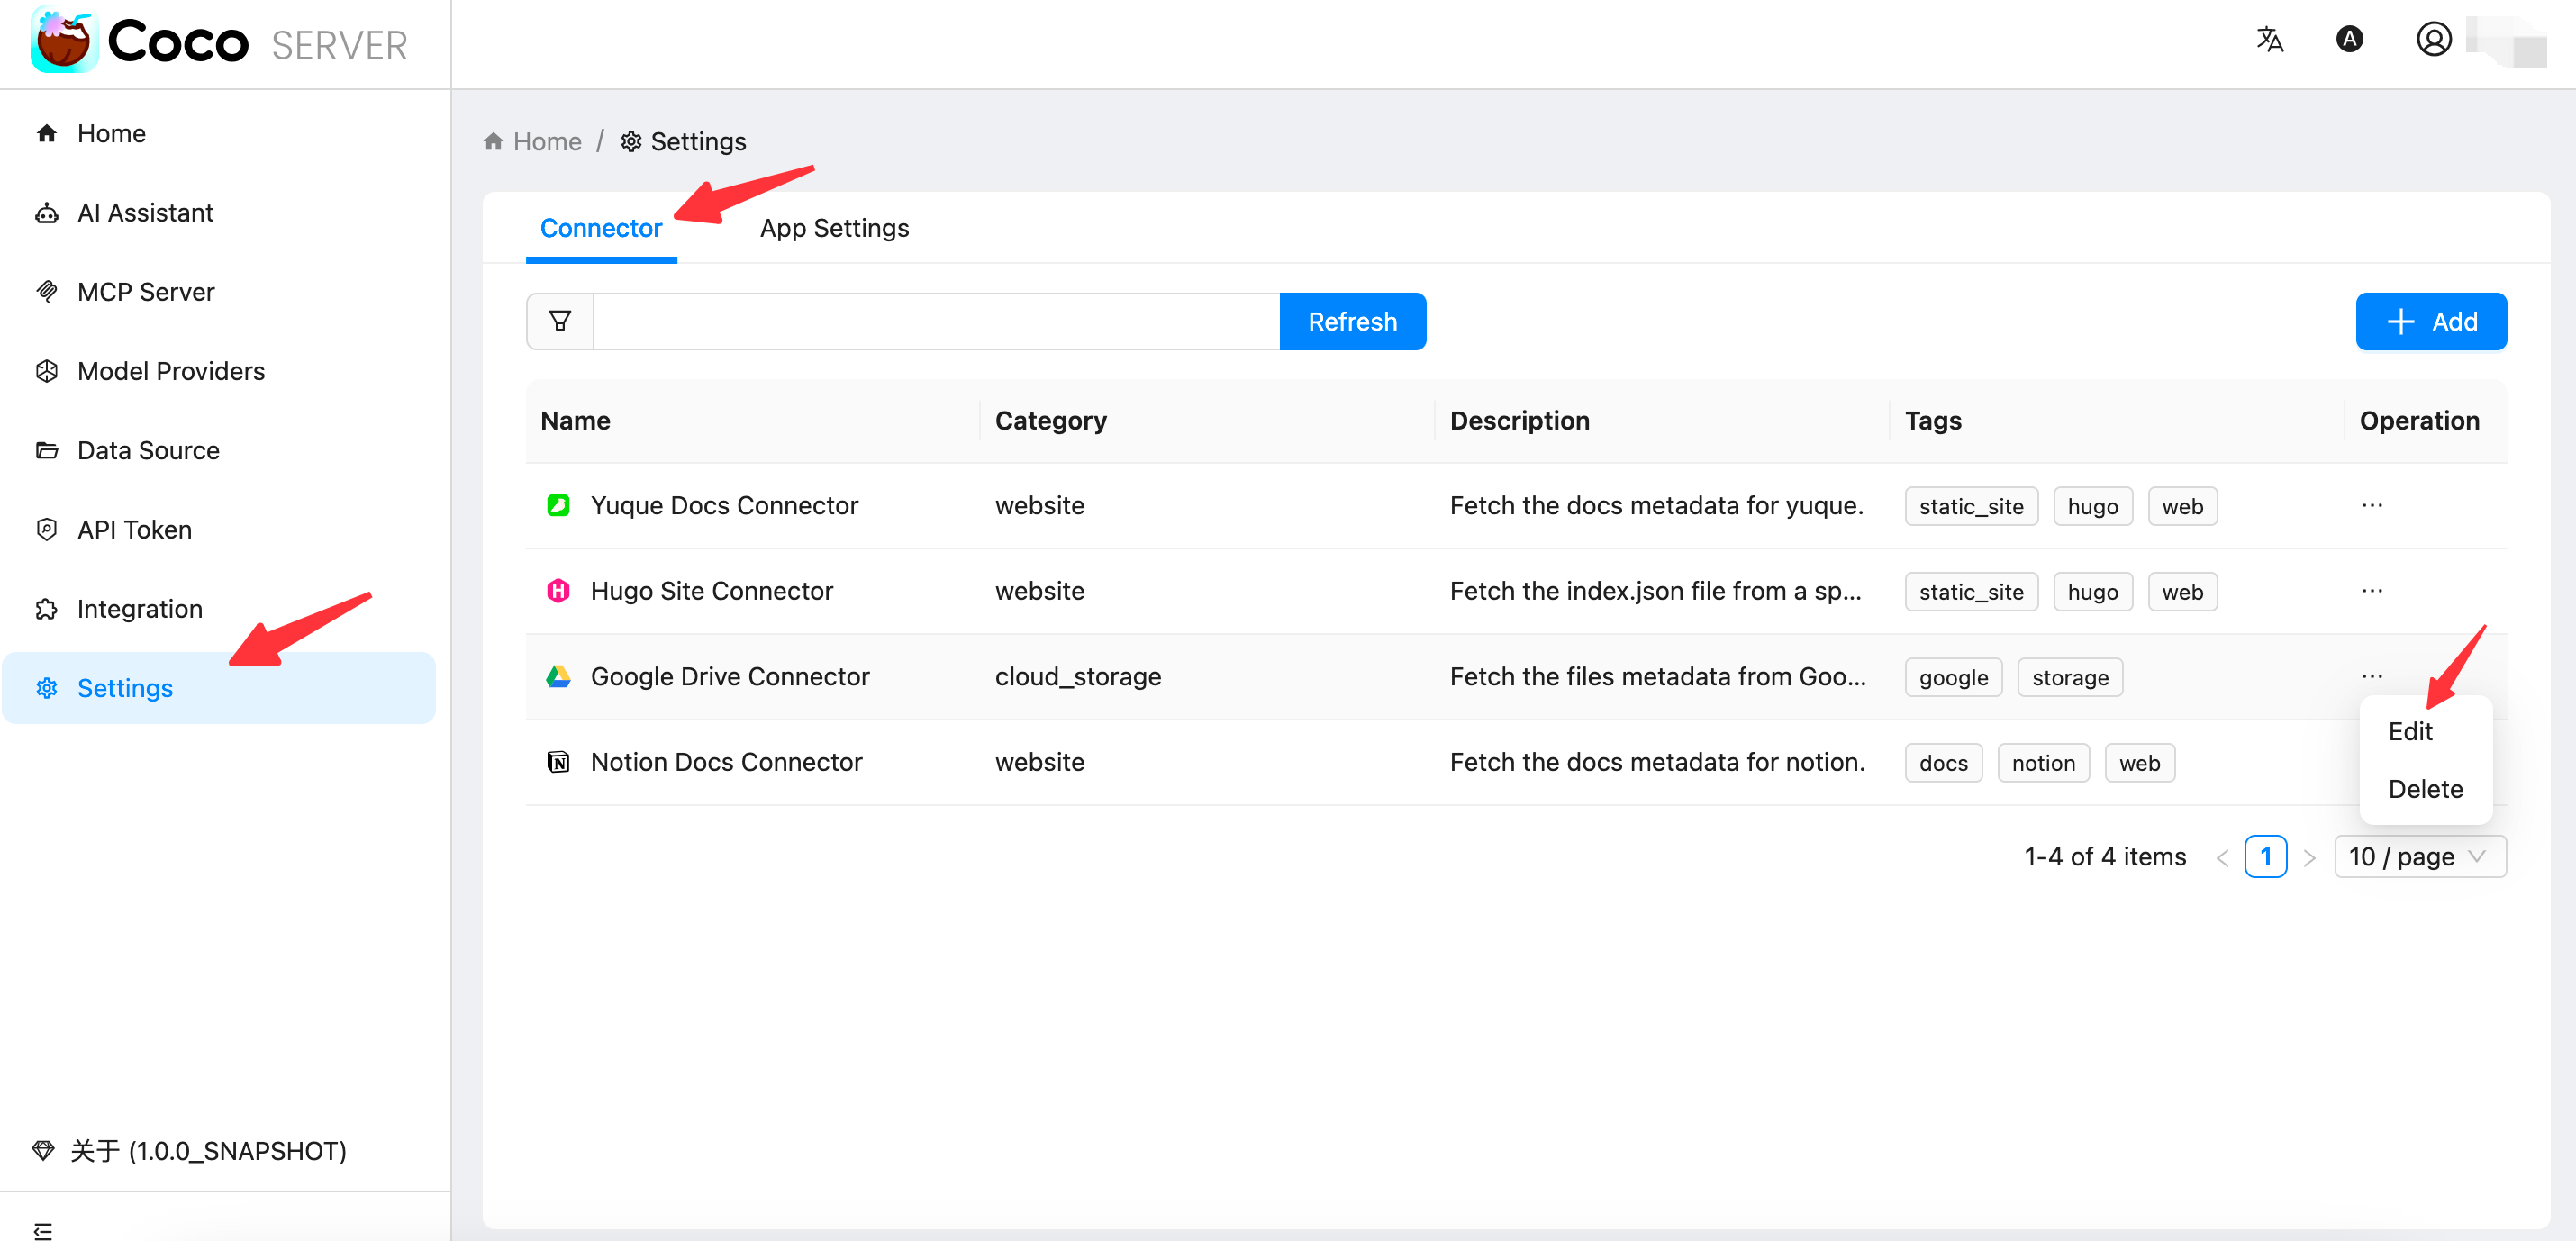
Step 2: Configure Google Drive OAuth #
Click the edit button to enter the configuration page.
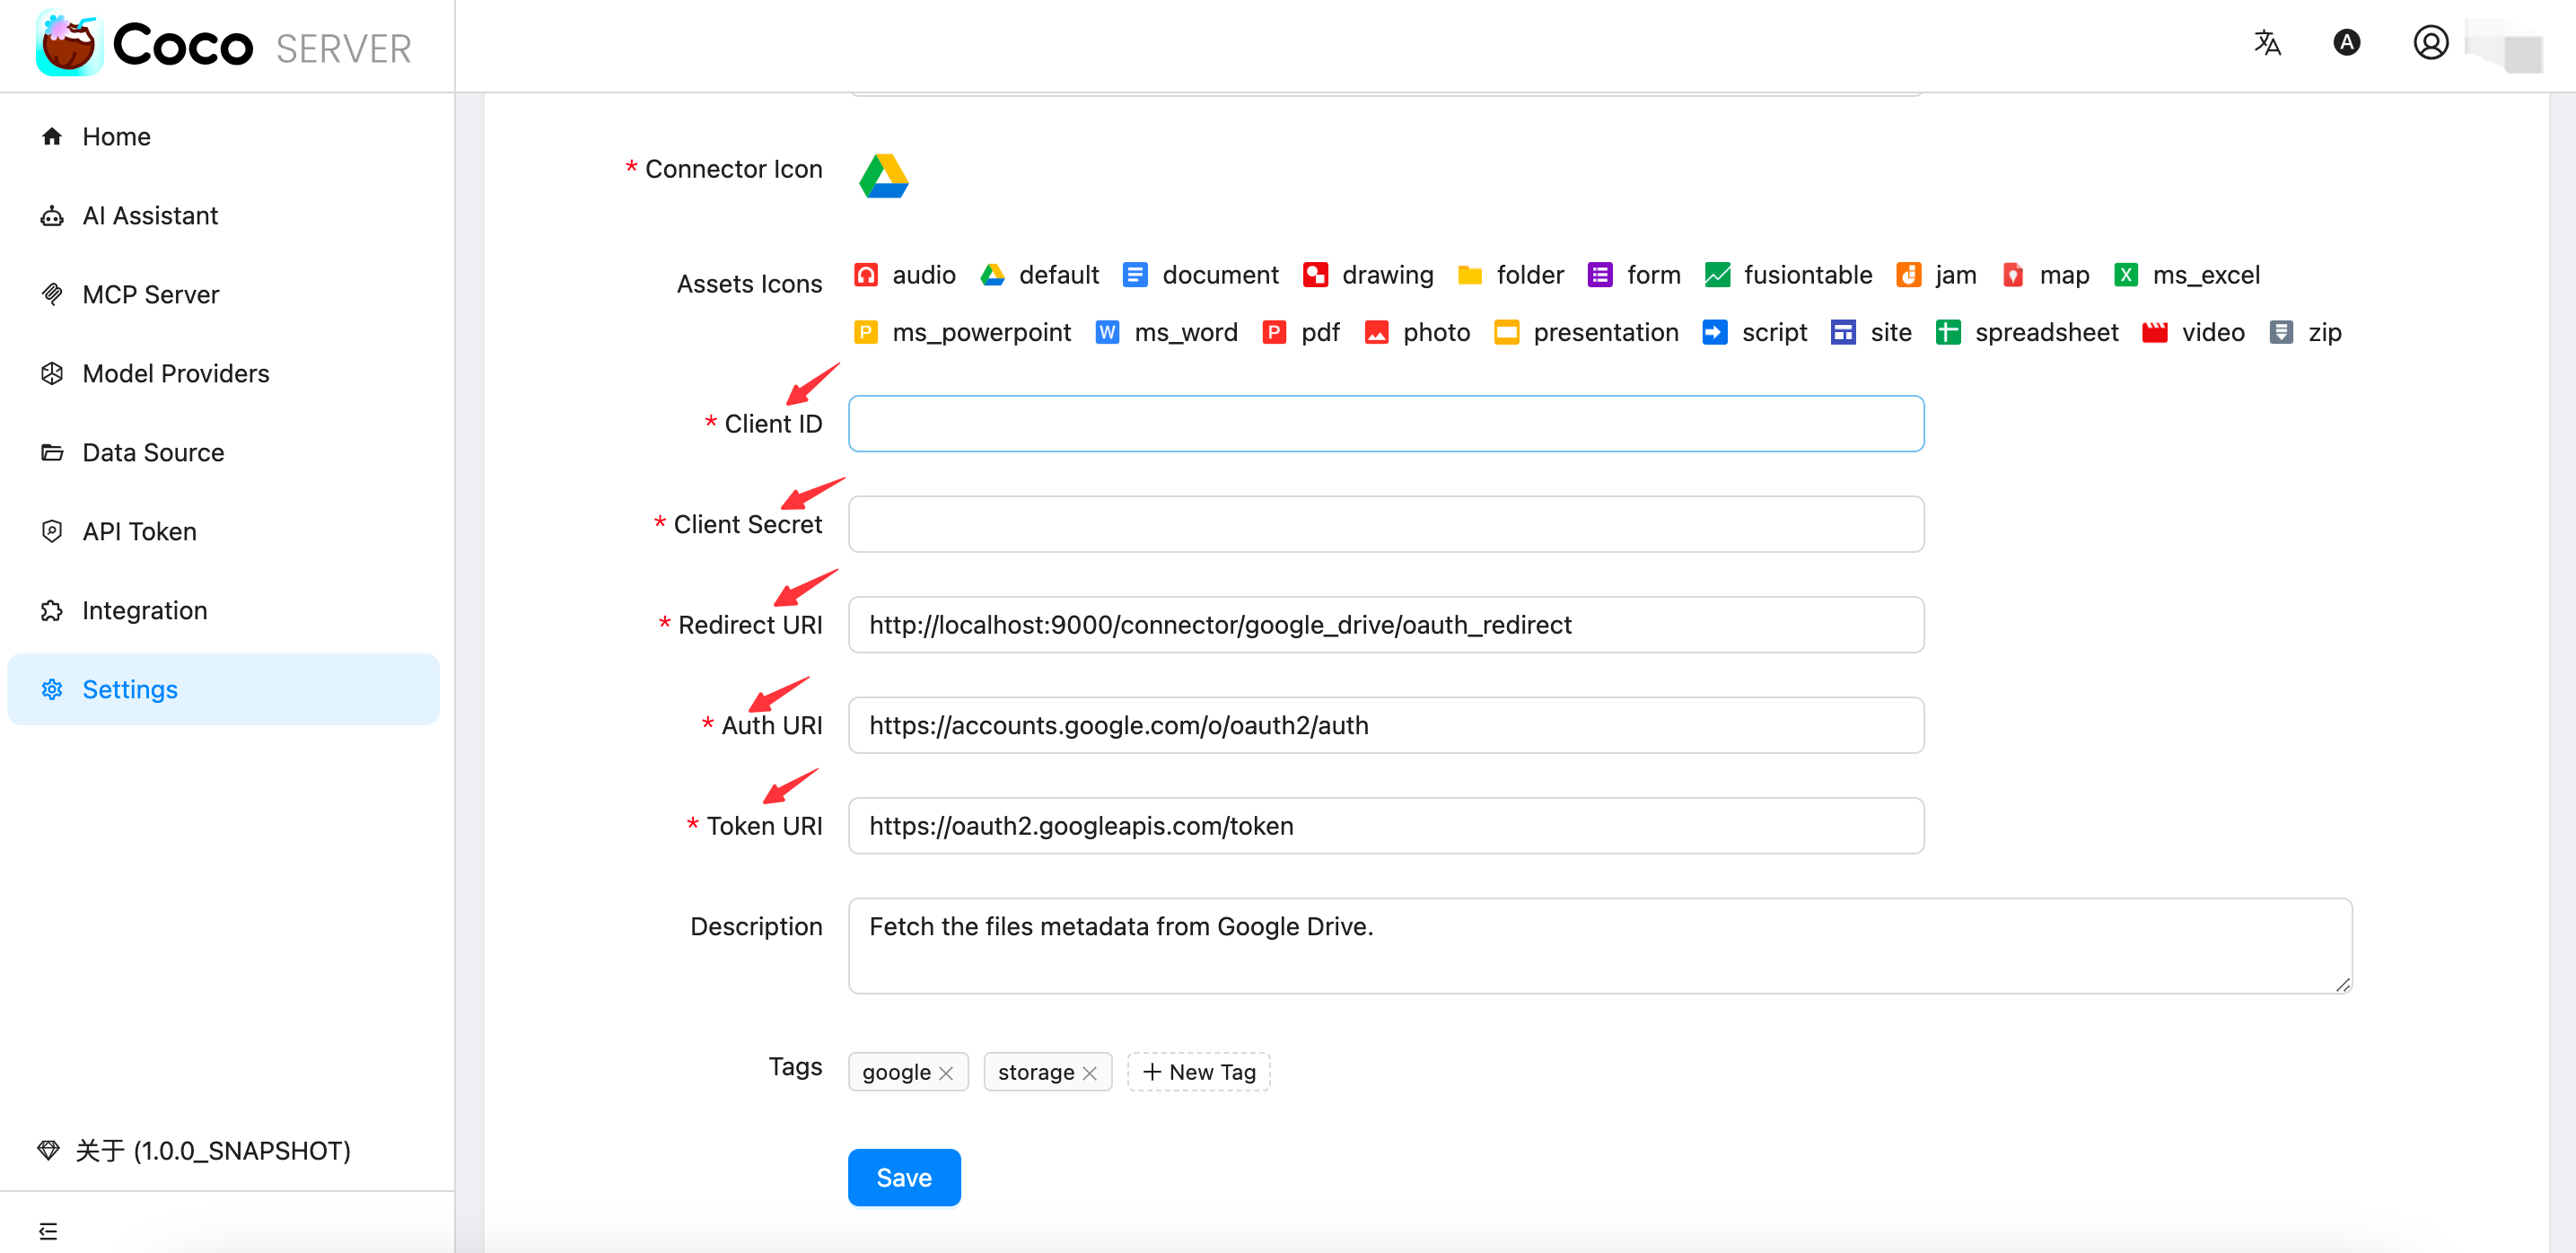
Configure the following fields based on your Google OAuth credentials:
Client IDClient SecretRedirect URIAuth URIToken URI
Then click the Save button to store the configuration.
⚠️ Upgrade Note for Older Versions:
If you’re upgrading from an earlier version, make sure to delete the existing data directory first:rm -rf dataThen restart Coco Server and reinitialize the system.
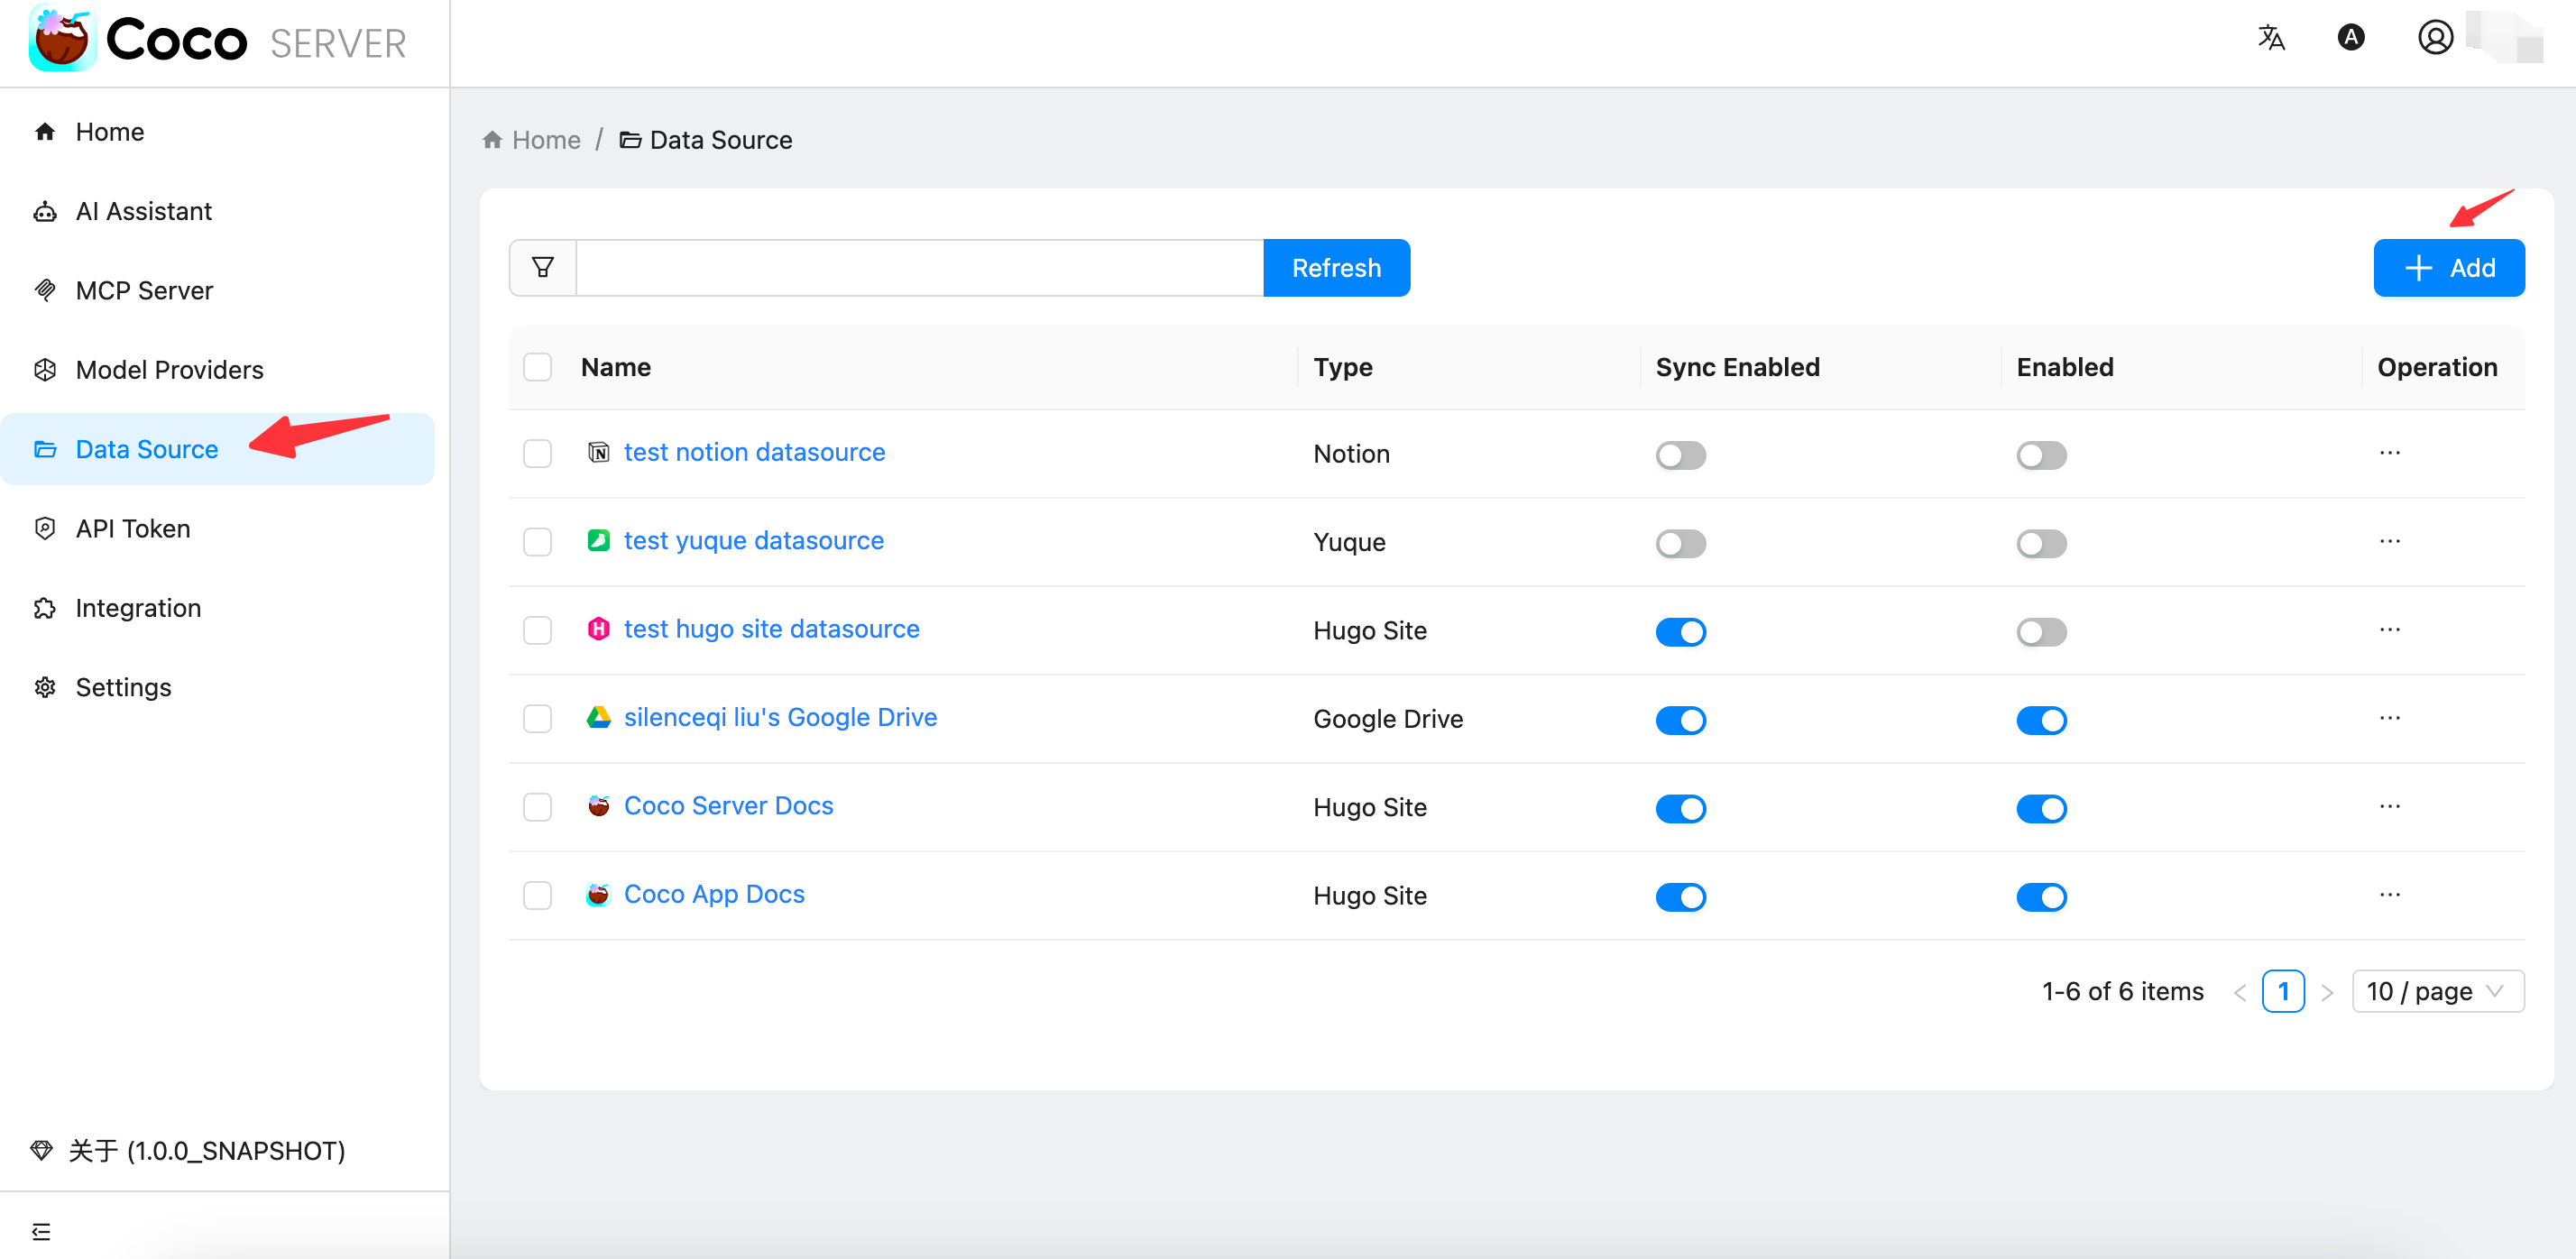
Connect to Your Google Drive #
To add a Google Drive data source, go to the Coco Server admin panel and click the left-side menu Data Source, as shown below:
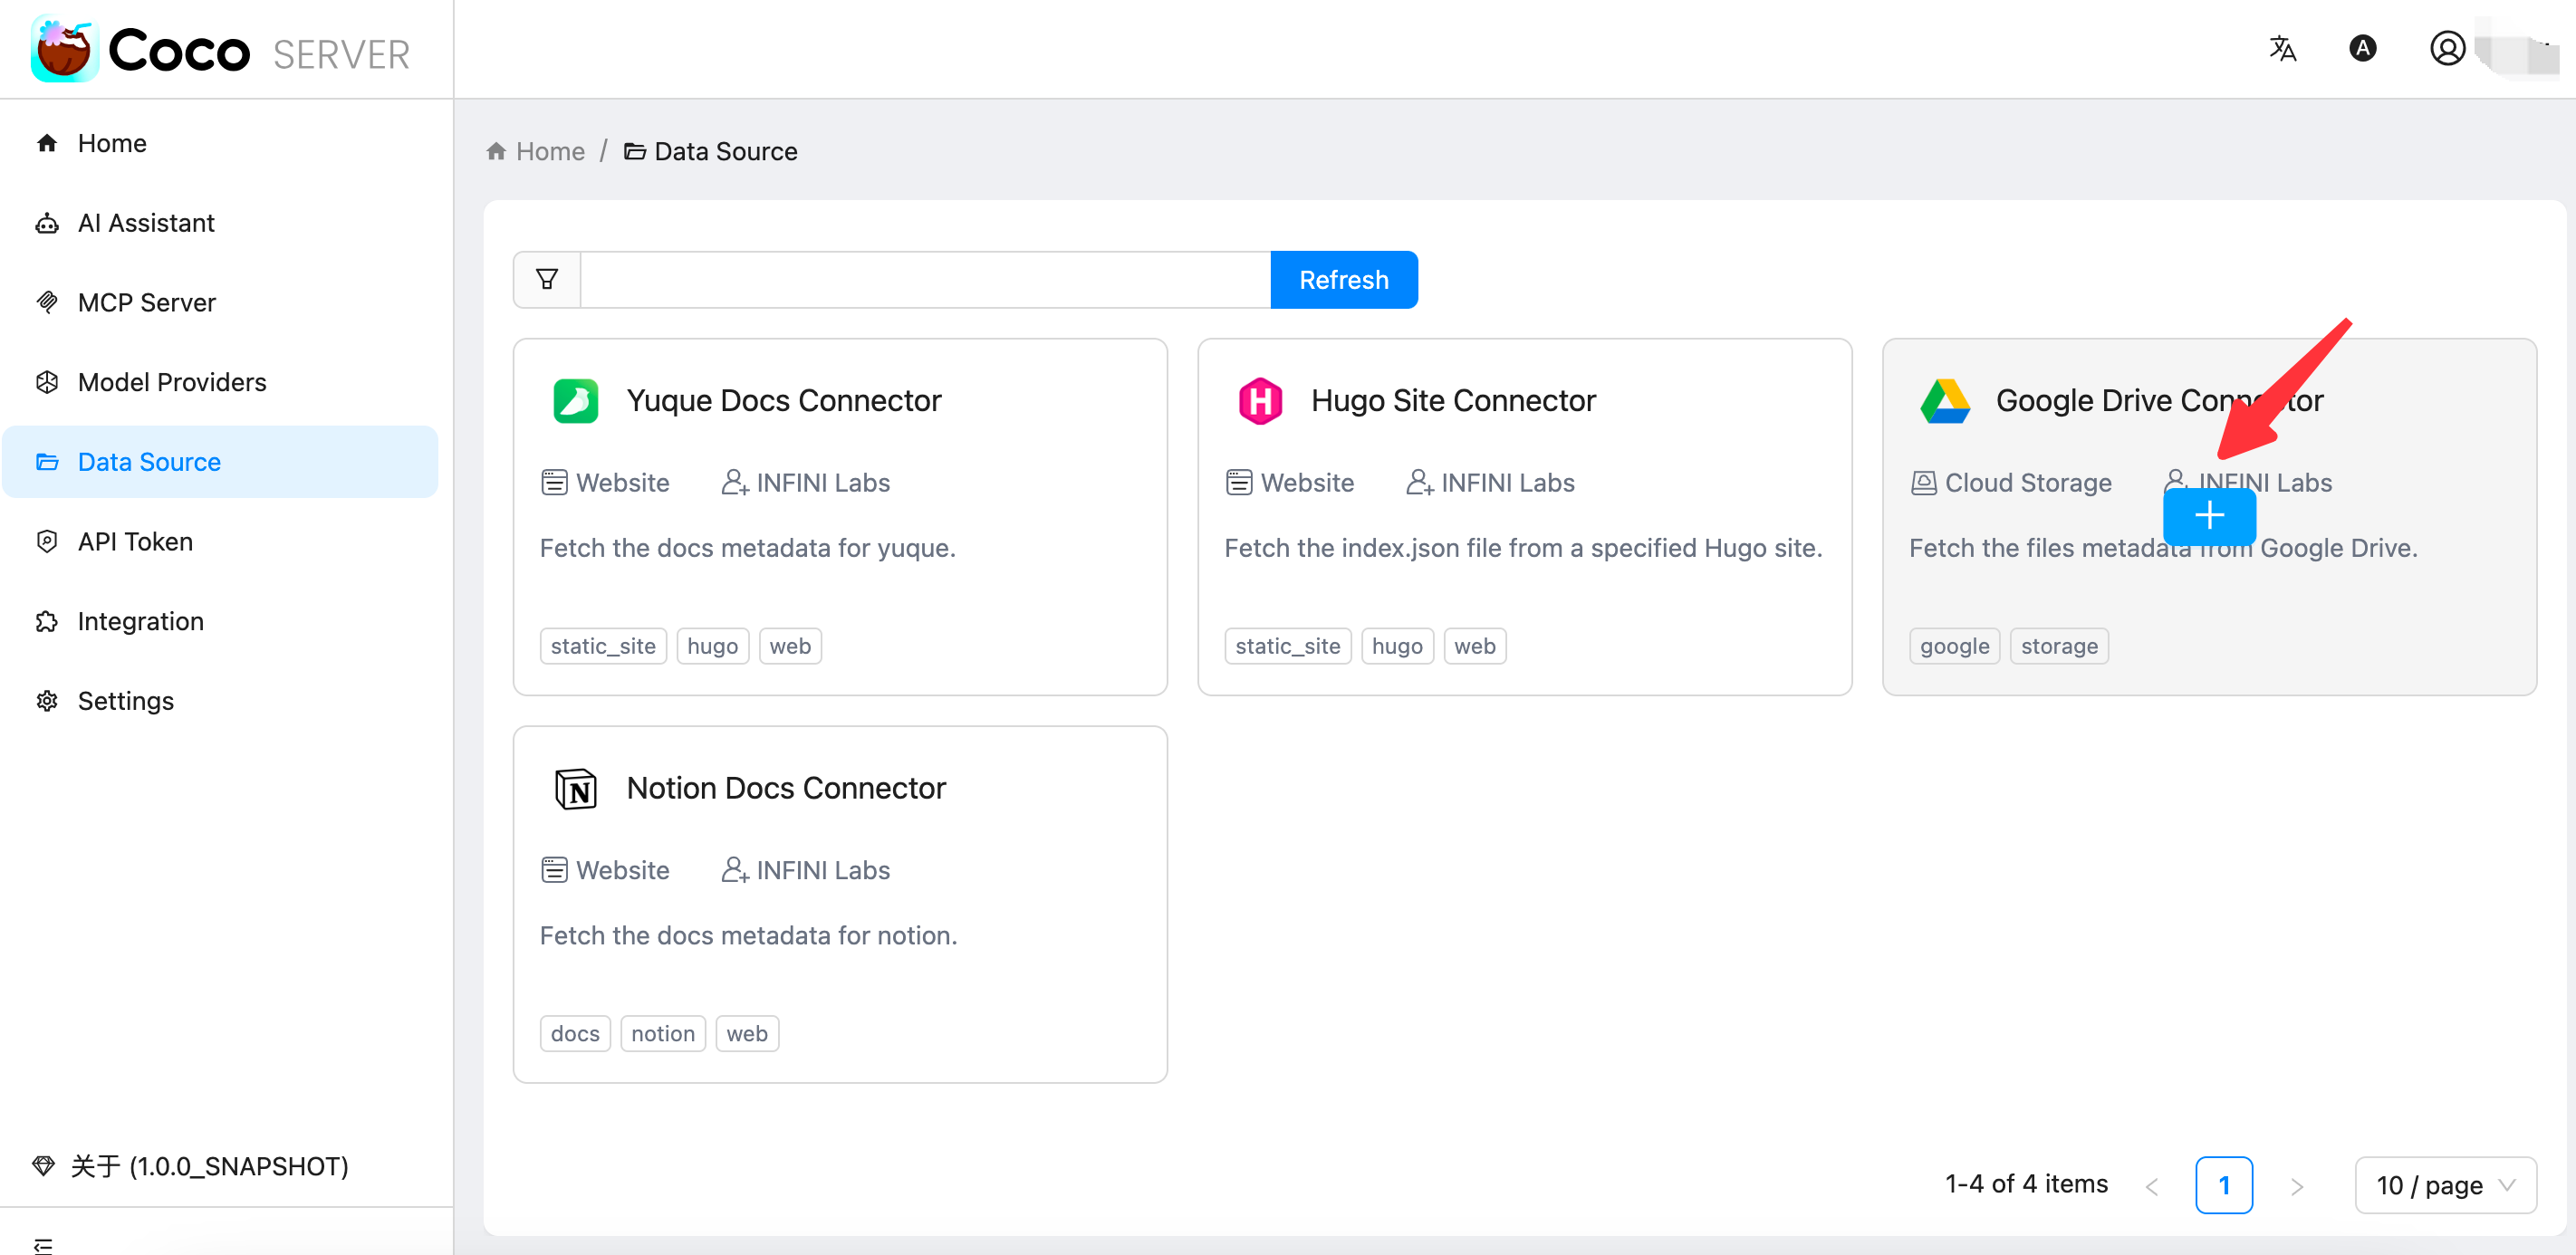
Click the Add button to open the connector type selection page, as shown below:
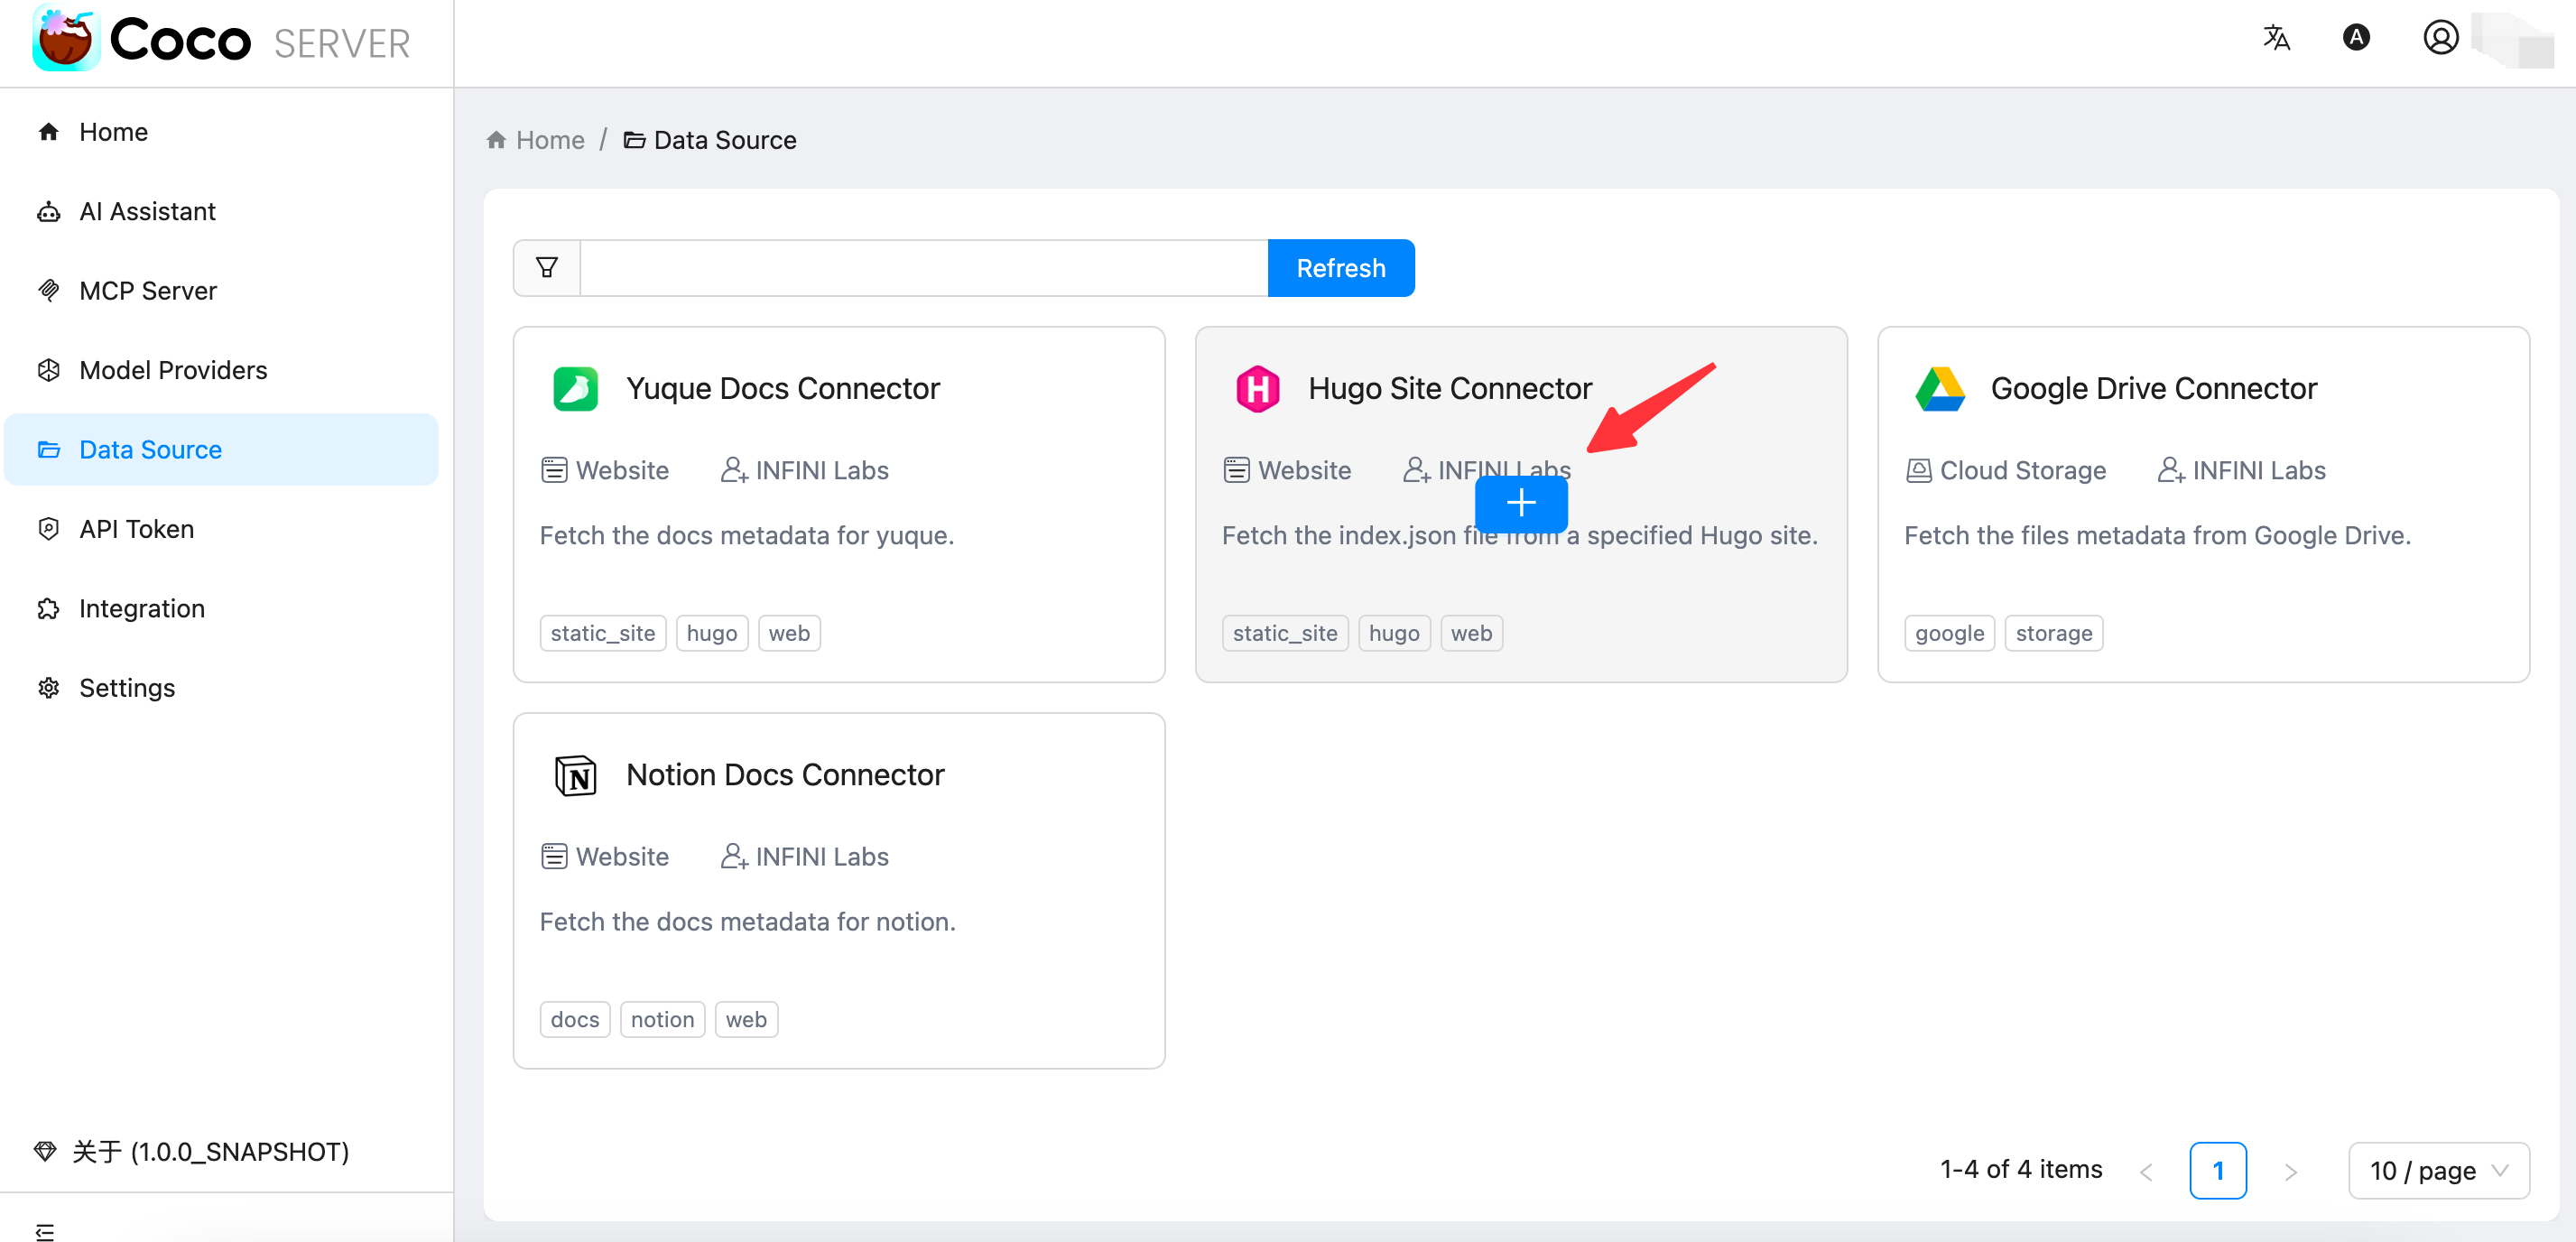
Then, hover over the Google Drive connector card and click the Add button that appears:
Click the Connect button, and the page will redirect to Google for OAuth authorization.
Once authorized successfully, the new Google Drive data source will appear in your data source list.