Notion Connector #
Register Notion Connector #
curl -XPOST "http://localhost:9000/connector" -d '{
    "name": "Notion Docs Connector",
    "description": "Fetch the docs metadata for notion.",
    "icon": "/assets/connector/notion/icon.png",
    "category": "website",
    "tags": [
        "docs",
        "notion",
        "web"
    ],
    "url": "http://coco.rs/connectors/notion",
    "assets": {
        "icons": {
            "default": "/assets/connector/notion/icon.png",
            "web_page": "/assets/connector/notion/icon.png",
            "database": "/assets/connector/notion/database.png",
            "page": "/assets/connector/notion/page.png"
        }
    },
       "processor":{
          "enabled":true,
          "name":"notion"
       }
}'
Use the Notion Connector #
The Notion Connector allows you to index data from your notion account into your system. Follow these steps to set it up:
Obtain Notion API Token #
Before using this connector, you need to obtain your Notion API token. Refer to the official Notion integrations documentation for instructions.
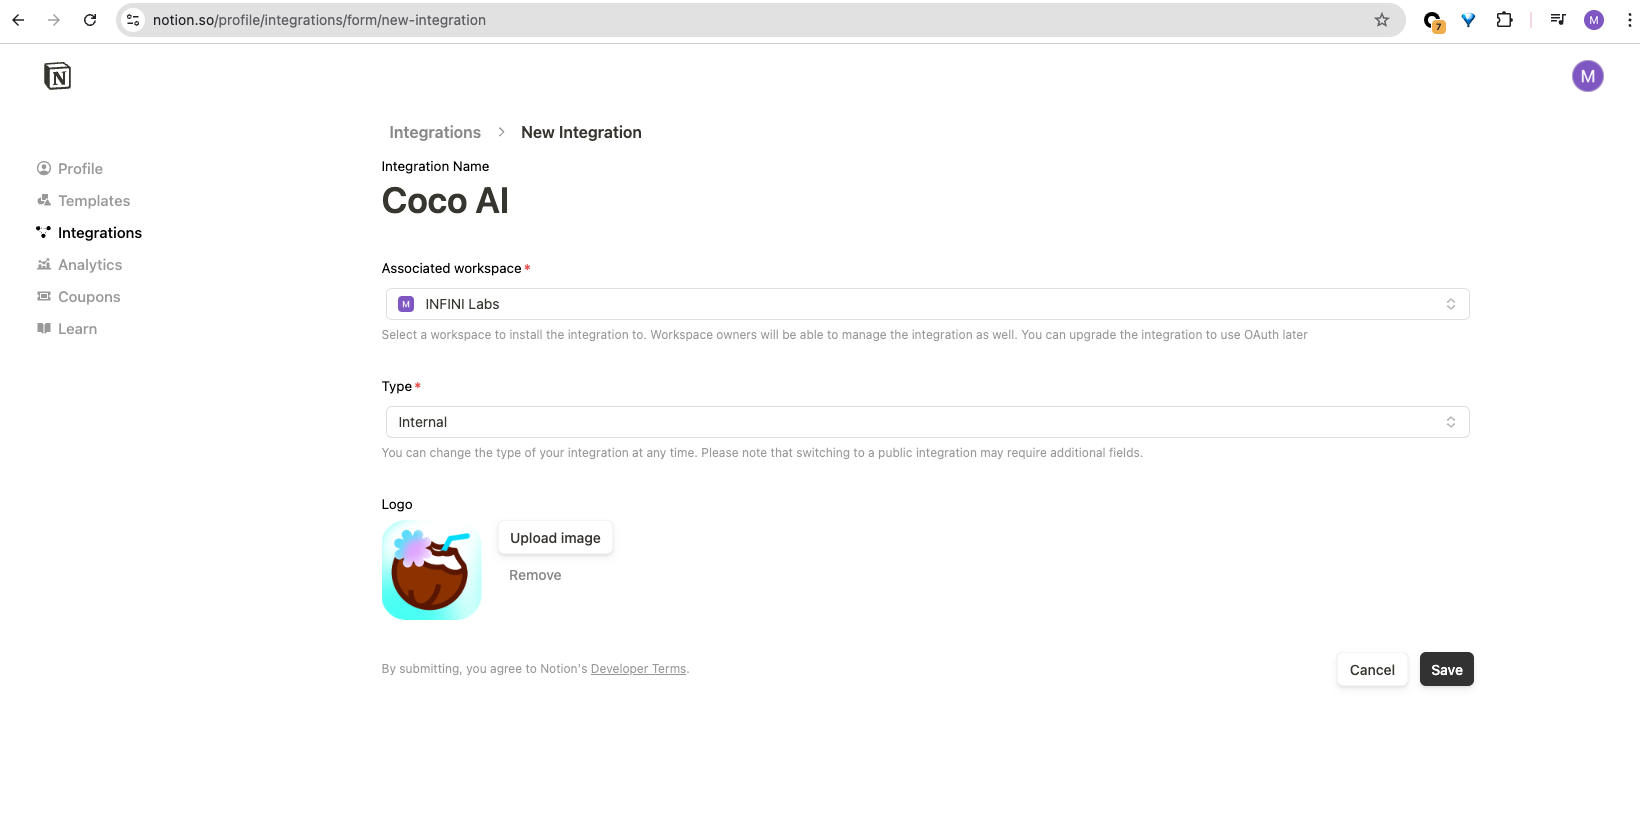
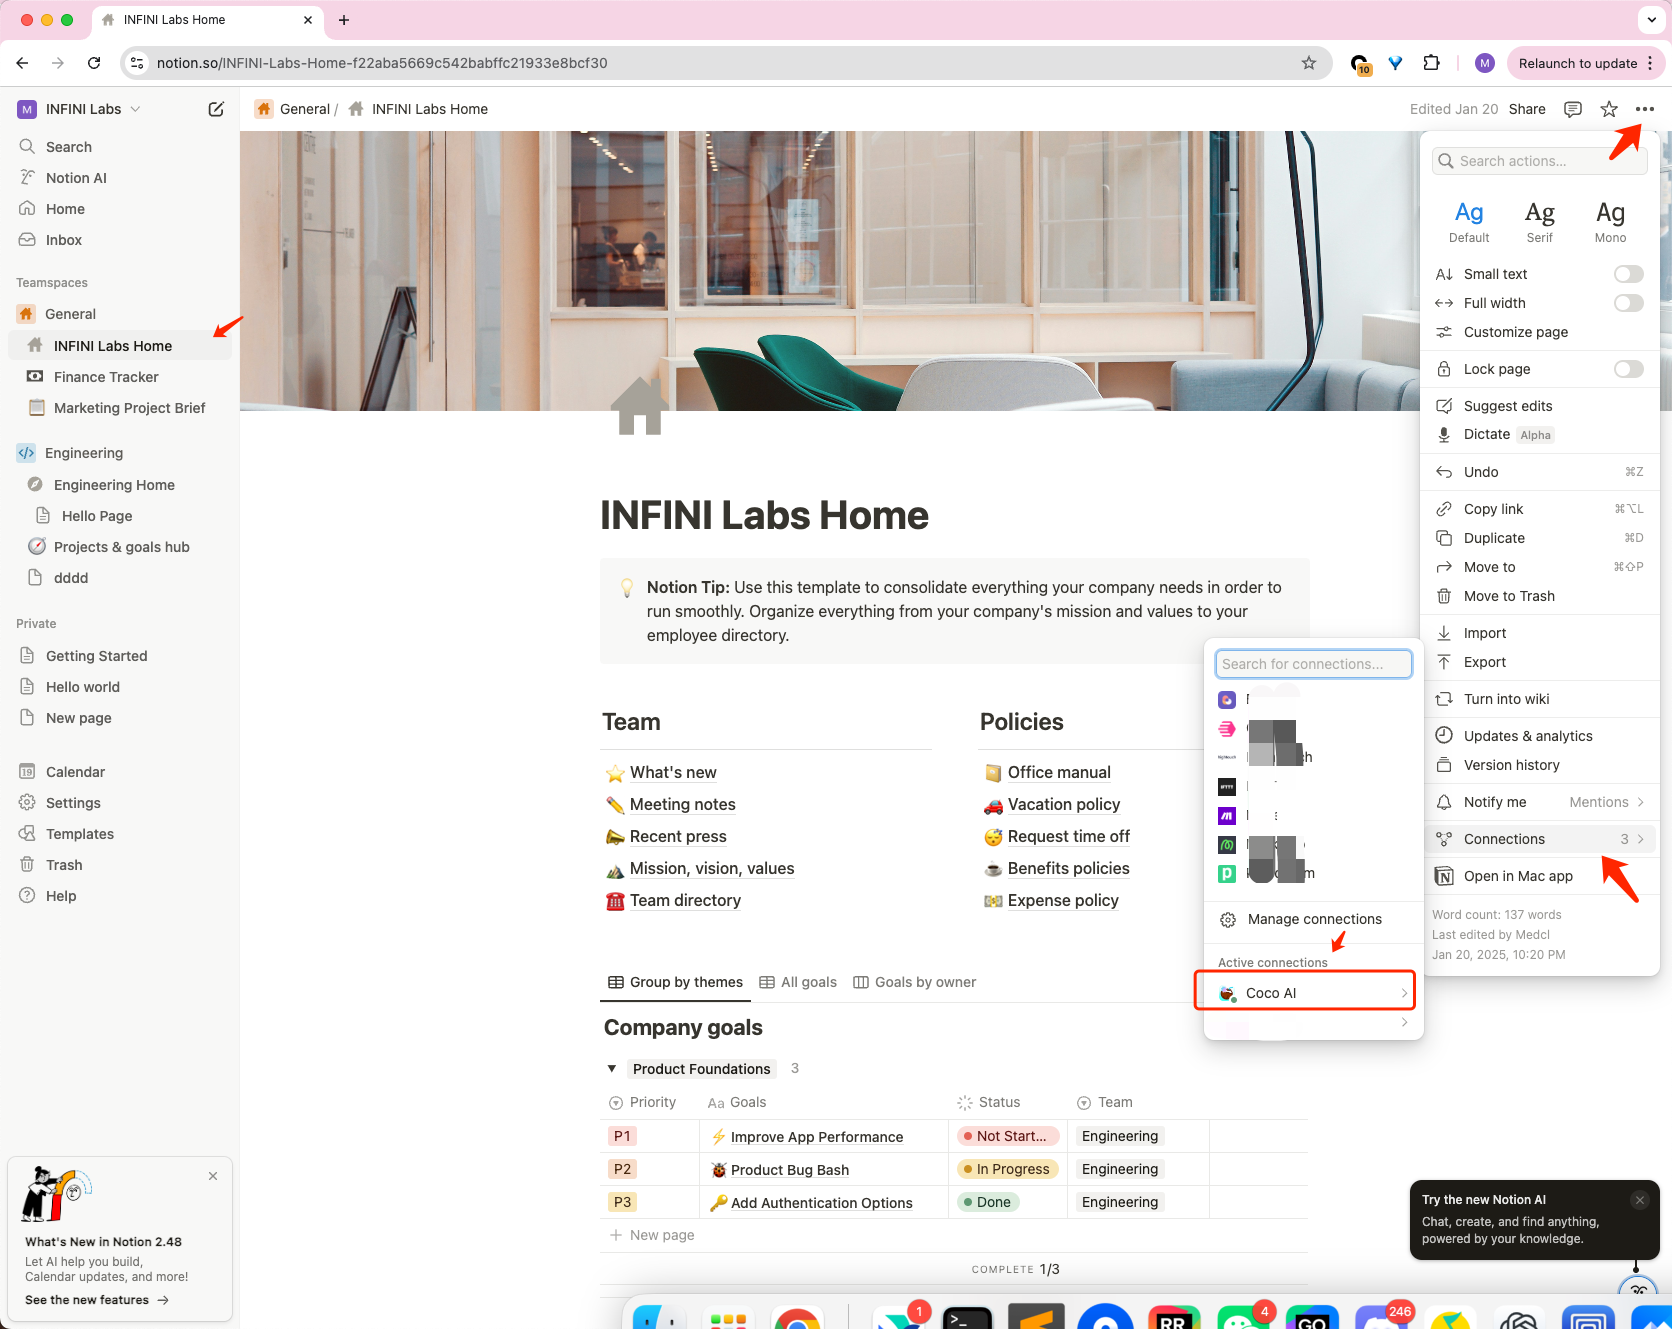
You should also integrate your Notion workspace with the app by establishing the necessary connections. This way, the API token will have access to your Notion content.
Example Request #
Here is an example request to configure the Notion Connector:
curl -H 'Content-Type: application/json' -XPOST "http://localhost:9000/datasource/" -d '
{
    "name": "My Notion",
    "type": "connector",
    "connector": {
        "id": "notion's connector id",
        "config": {
            "token": "your_notion_api_token"
        }
    }
}'
Supported Config Parameters for Notion Connector #
Below are the configuration parameters supported by the Notion Connector:
| Field | Type | Description |
|---|---|---|
token | string | Your Notion API token. This is required to access Notion’s API. |
Notes #
- Set
tokento your valid Notion API token to enable the connector.