System Initialization #
Initialization API #
Initialize the Coco Server with an admin account and optional LLM configuration. This endpoint can only be called once — subsequent calls will return an error.
Parameters #
| Field | Type | Required | Description |
|---|---|---|---|
name | string | Yes | Server name (becomes “{name}’s Coco Server”). |
email | string | Yes | Admin user email address. |
password | string | Yes | Admin user password. |
llm.type | string | No | LLM provider type, e.g., openai, ollama. |
llm.endpoint | string | No | LLM API endpoint URL. |
llm.default_model | string | No | Default model name, e.g., deepseek-r1. |
llm.token | string | No | API token for the LLM provider. |
llm.reasoning | boolean | No | Enable reasoning mode for the model. |
language | string | No | Language setting: en-US or zh-CN (default: zh-CN). |
//request
curl -H 'Content-Type: application/json' -XPOST http://localhost:9000/setup/_initialize -d'{
  "name": "Coco",
  "email": "hello@coco.rs",
  "password": "mypassword",
  "llm": {
    "type": "ollama",
    "endpoint": "http://localhost:11434",
    "default_model": "deepseek-r1"
  },
  "language": "en-US"
}'

//response
{
  "status": "ok"
}
Initialization UI Management #
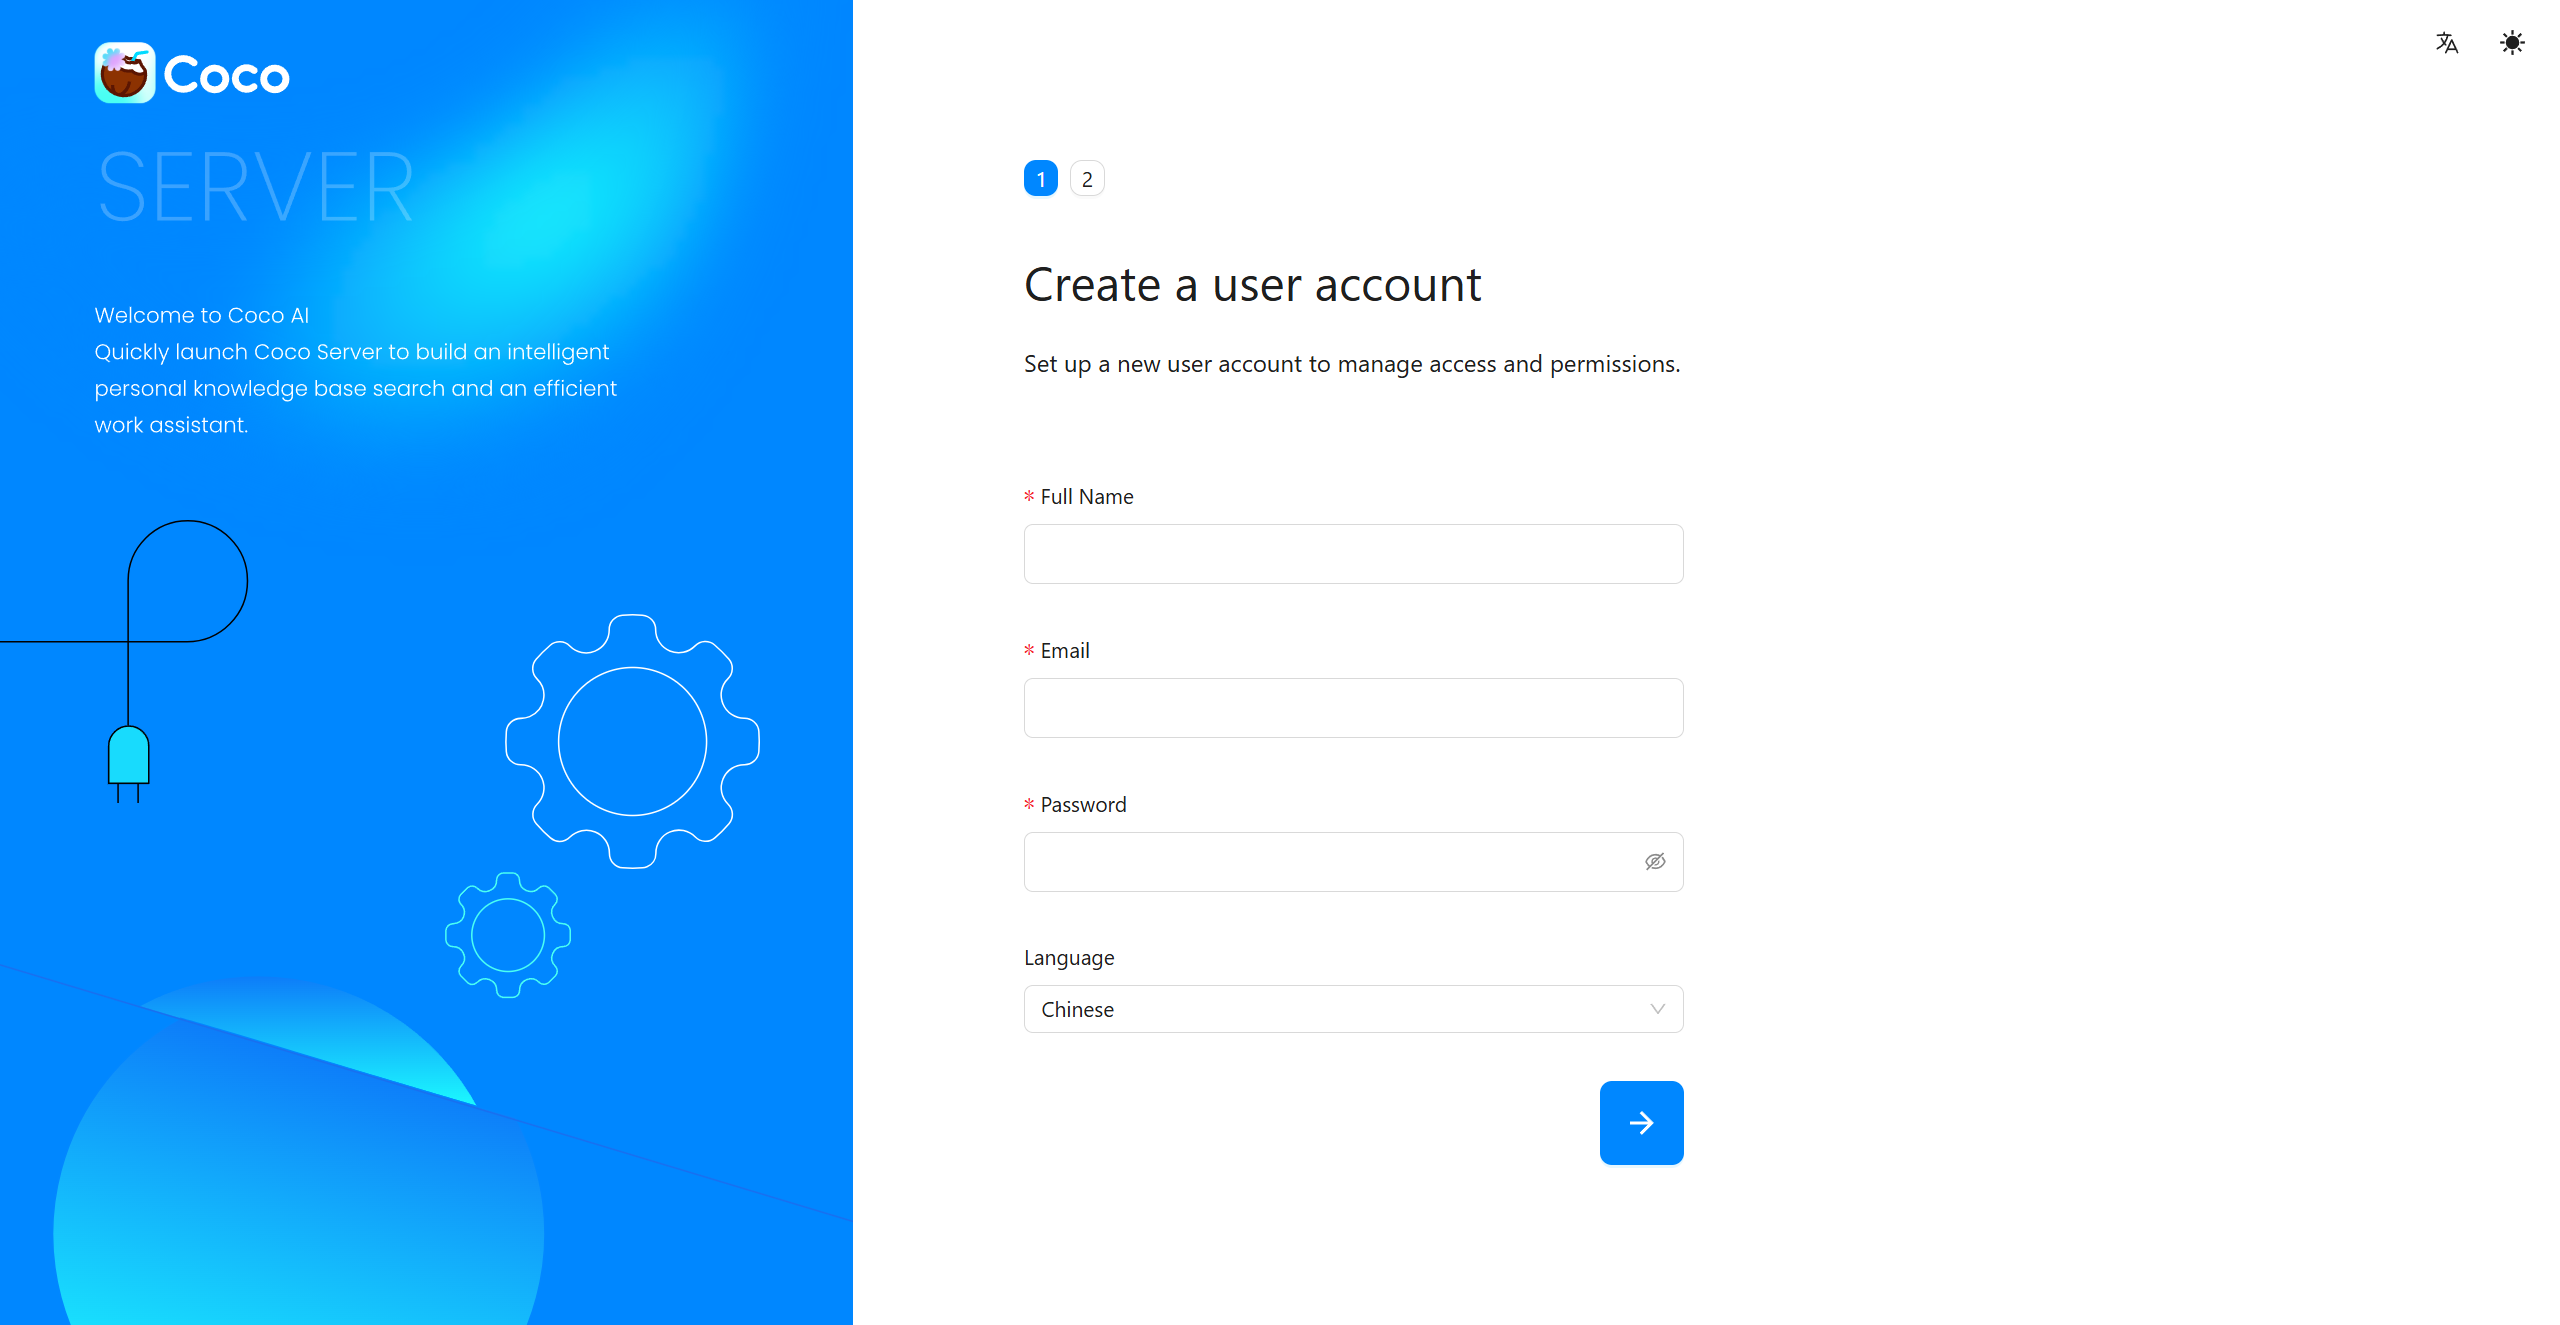
When entering the coco server, it will check whether it has been initialized. If not, it will enter the initialization page.
Create a user account #
Set up a new user account to manage access and permissions.
Connect to a Large Model #
After integrating a large model, you will unlock the AI chat feature, providing intelligent search and an efficient work assistant.
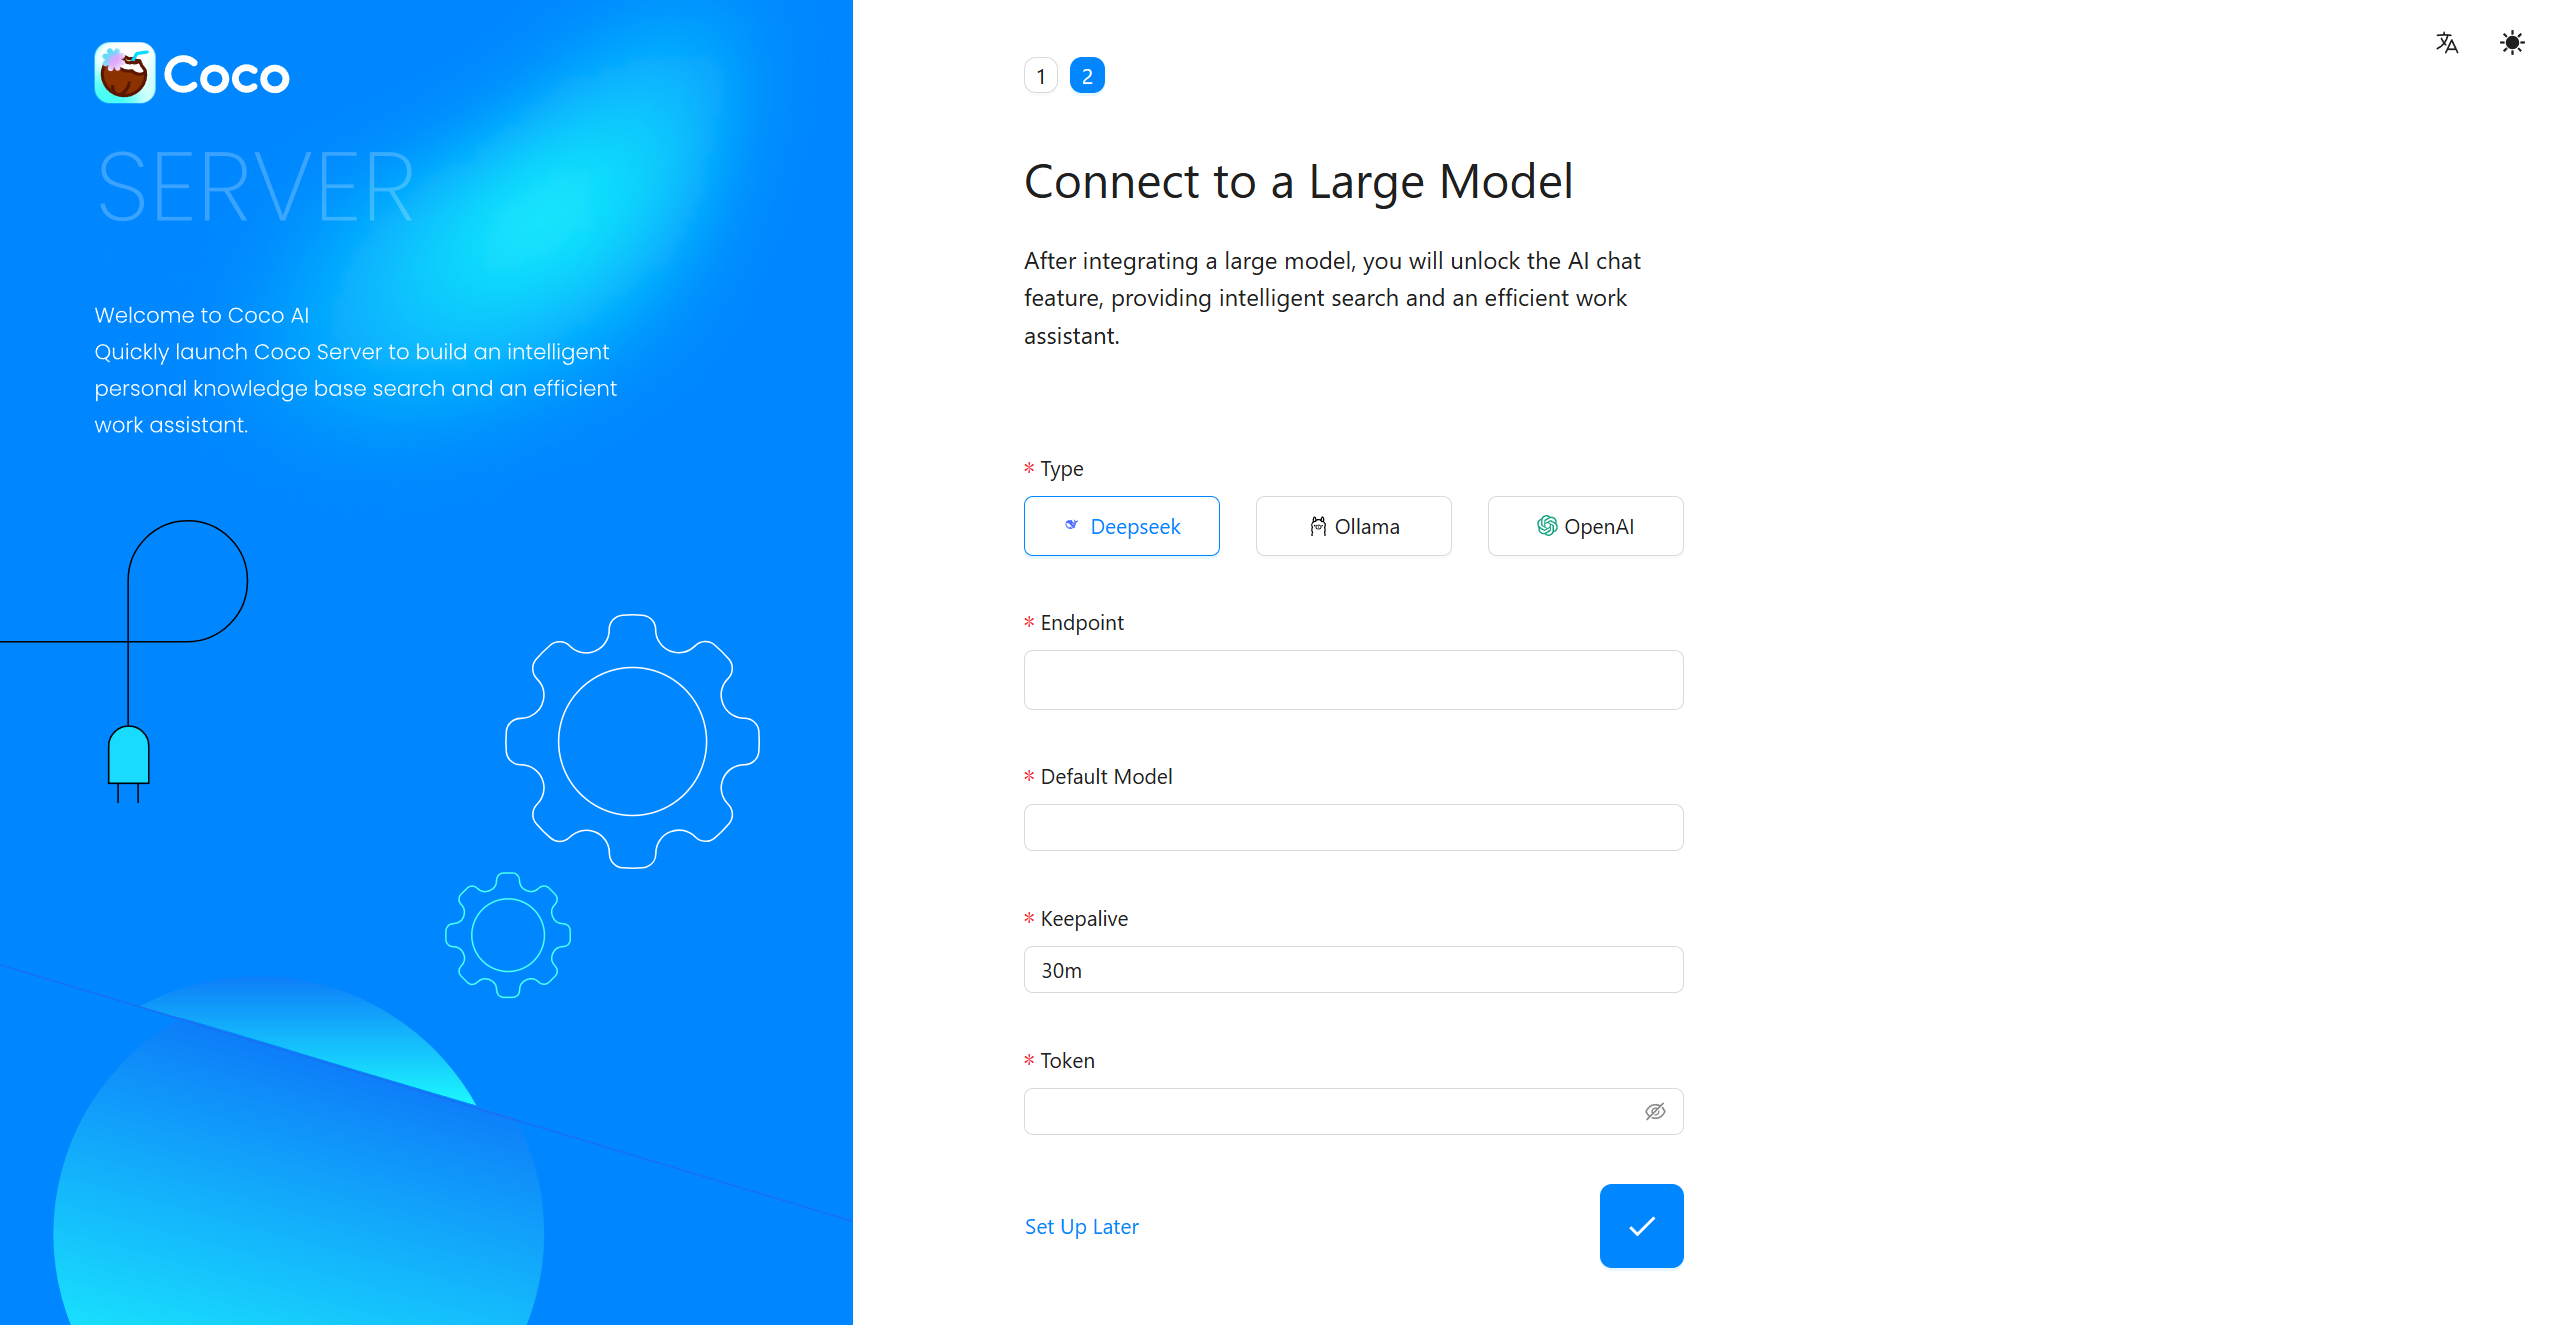
You can also click Set Up Later to skip and configure it later after entering the system.