System Settings #
System Settings API #
Below is the field description for the system settings.
| Field | Type | Description |
|---|---|---|
server.name | string | The server display name. |
server.endpoint | string | The server’s public endpoint URL. |
server.provider.name | string | Provider organization name. |
server.provider.icon | string | Provider icon URL. |
server.provider.website | string | Provider website URL. |
server.provider.banner | string | Provider banner image URL. |
server.provider.description | string | Provider description text. |
server.provider.eula | string | End User License Agreement URL. |
server.provider.privacy_policy | string | Privacy policy URL. |
app_settings.chat.chat_start_page.enabled | boolean | Enables or disables the chat start page. |
app_settings.chat.chat_start_page.logo | object | Logo configuration with light and dark theme URLs. |
app_settings.chat.chat_start_page.introduction | string | Introduction text shown on the chat start page. |
app_settings.chat.chat_start_page.display_assistants | array | List of assistant IDs to display on the start page. |
search_settings.enabled | boolean | Enables or disables the search module. |
search_settings.integration | string | Integration type for search. |
Get System Settings #
//request
curl -XGET http://localhost:9000/settings \
  -H "Authorization: Bearer <access_token>"

//response
{
  "server": {
    "name": "My Coco Server",
    "endpoint": "http://localhost:9000",
    "provider": {
      "name": "INFINI Labs",
      "icon": "http://localhost:9000/icon.png",
      "website": "http://infinilabs.com",
      "banner": "http://localhost:9000/banner.jpg",
      "description": "Coco AI Server - Search, Connect, Collaborate, AI-powered enterprise search, all in one space."
    }
  },
  "app_settings": {
    "chat": {
      "chat_start_page": {
        "enabled": true,
        "logo": {
          "light": "",
          "dark": ""
        },
        "introduction": "Welcome to Coco AI",
        "display_assistants": []
      }
    }
  },
  "search_settings": {
    "enabled": true,
    "integration": ""
  }
}
Update System Settings #
The update API performs a deep merge with existing settings — only the provided fields are updated.
//request
curl -XPUT http://localhost:9000/settings \
  -H "Authorization: Bearer <access_token>" \
  -H 'Content-Type: application/json' \
  -d'{
  "server": {
    "name": "My Coco Server",
    "endpoint": "http://example.com/",
    "provider": {
      "banner": "http://localhost:9000/banner2.jpg",
      "description": "Coco AI Server - Search, Connect, Collaborate, AI-powered enterprise search, all in one space.",
      "eula": "http://infinilabs.com/eula.txt",
      "icon": "http://localhost:9000/icon.png",
      "name": "INFINI Labs",
      "privacy_policy": "http://infinilabs.com/privacy_policy.txt",
      "website": "http://infinilabs.com"
    }
  }
}'

//response
{
  "status": "ok"
}
System Settings UI Management #
Server #
Log in to the Coco-Server admin dashboard, click Home in the left menu to view server infomation, as shown below:
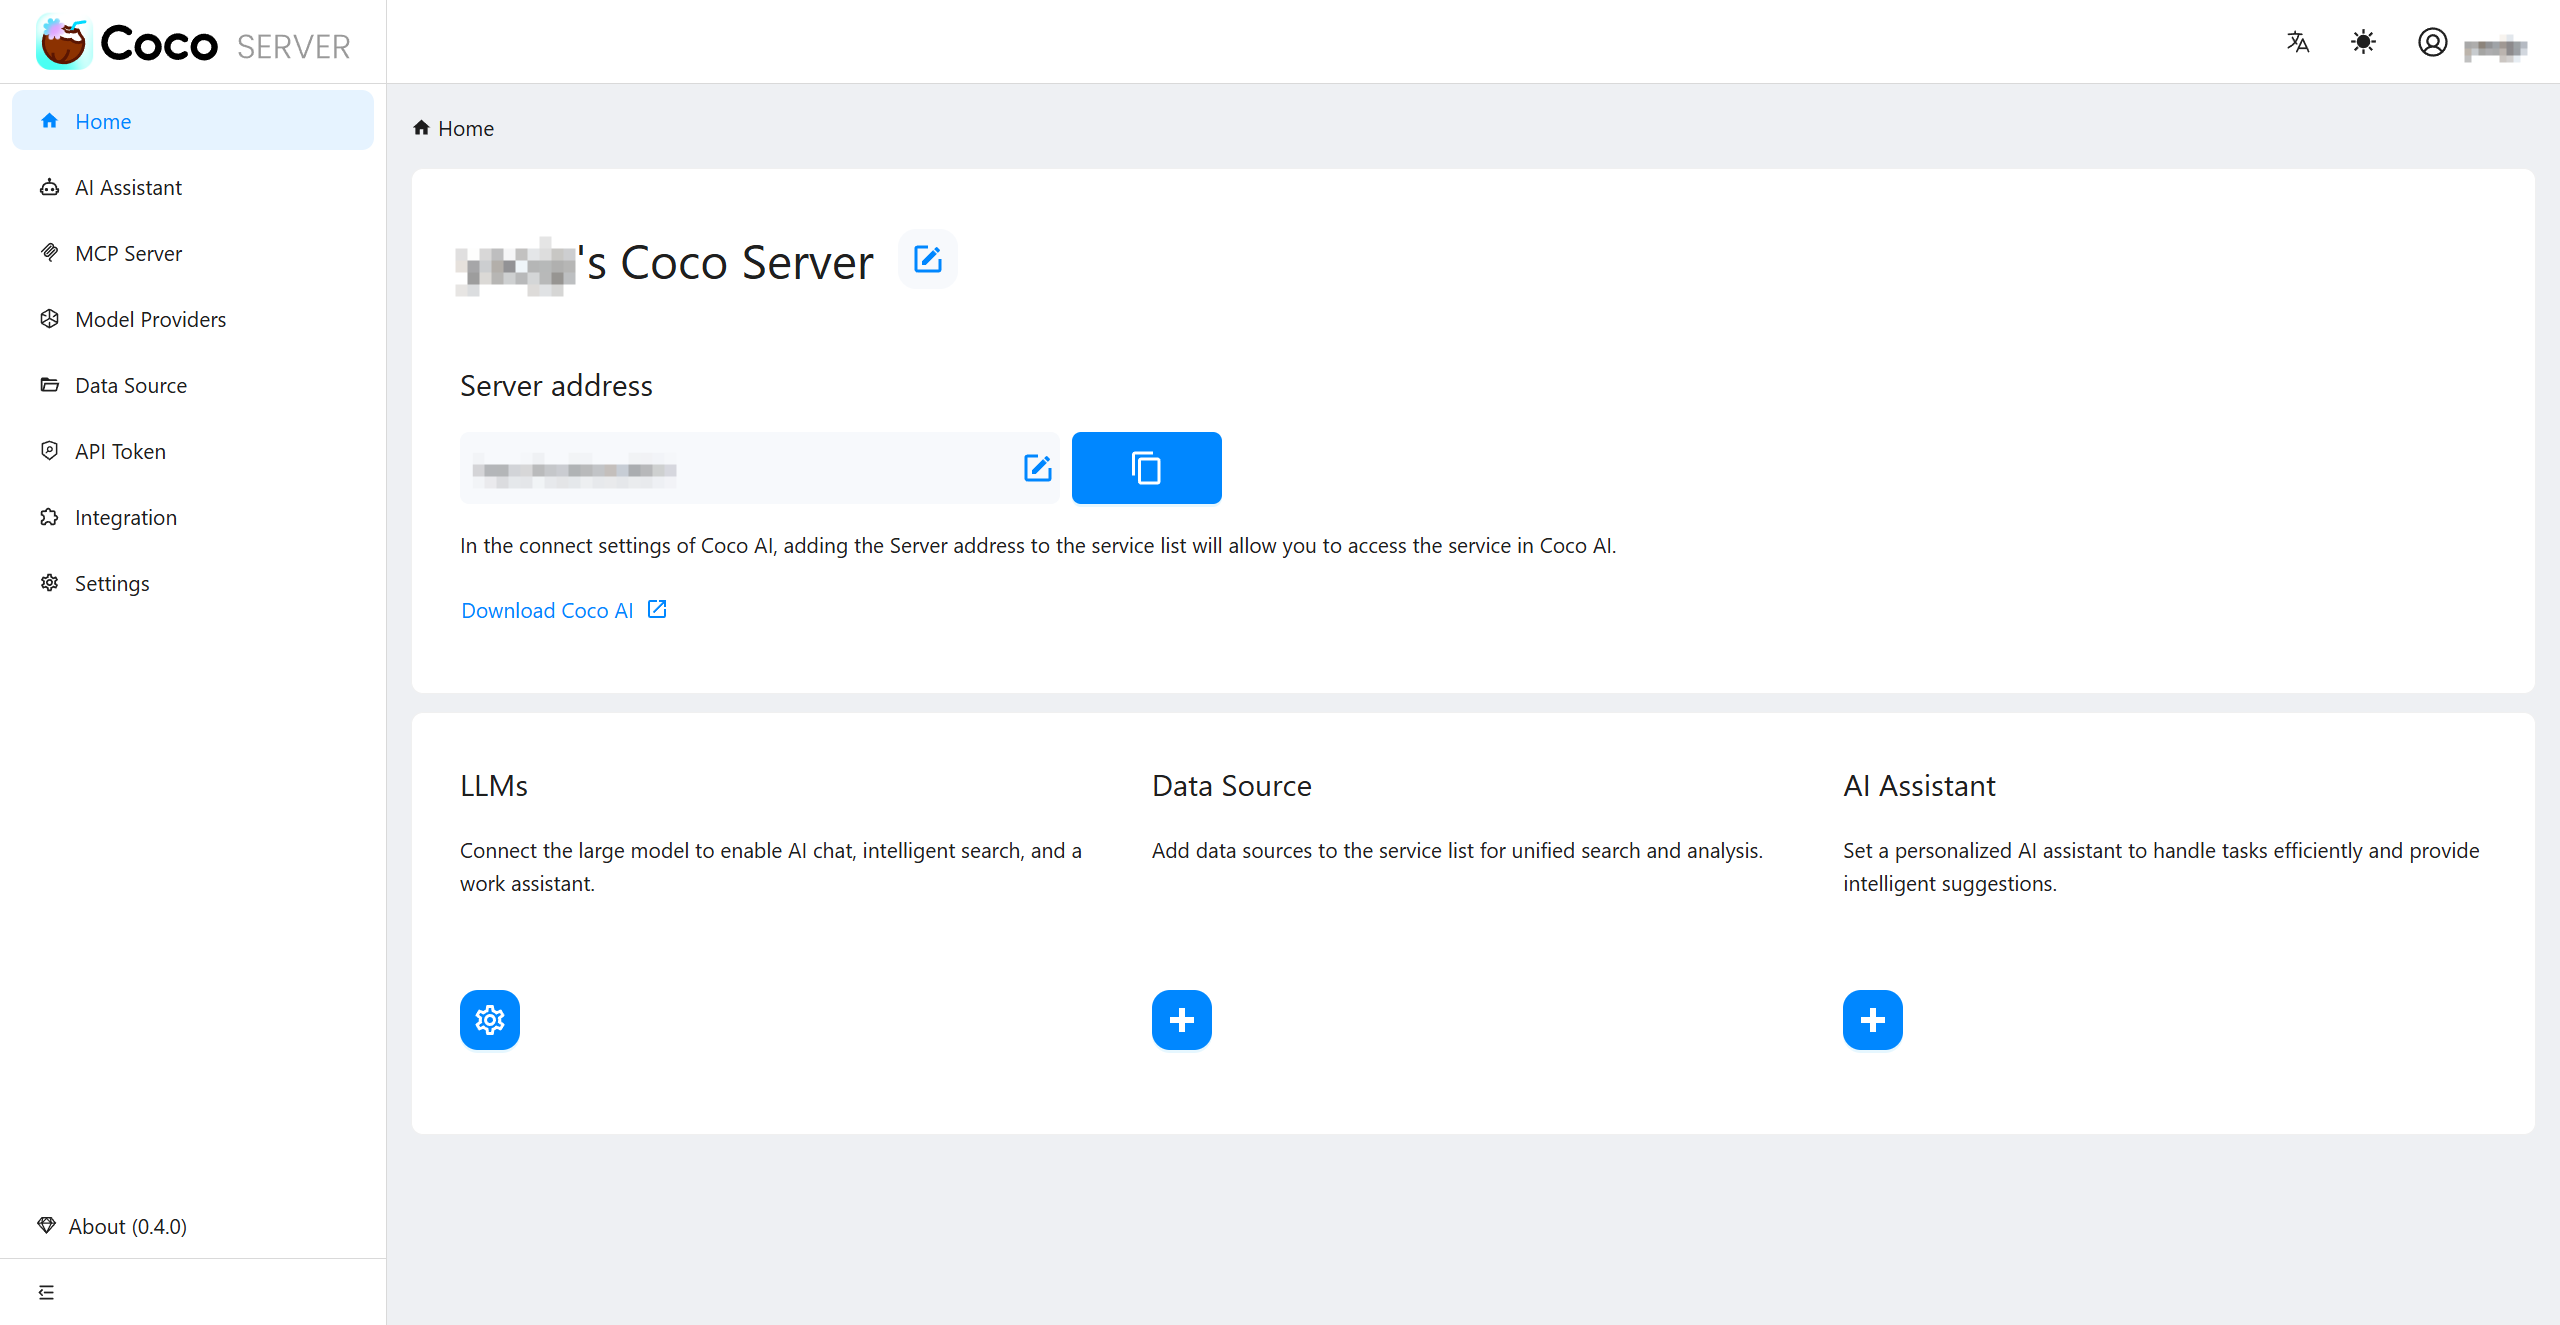
Click the edit button next to the name (address), enter a new one, and then click the save button to save the name (address).
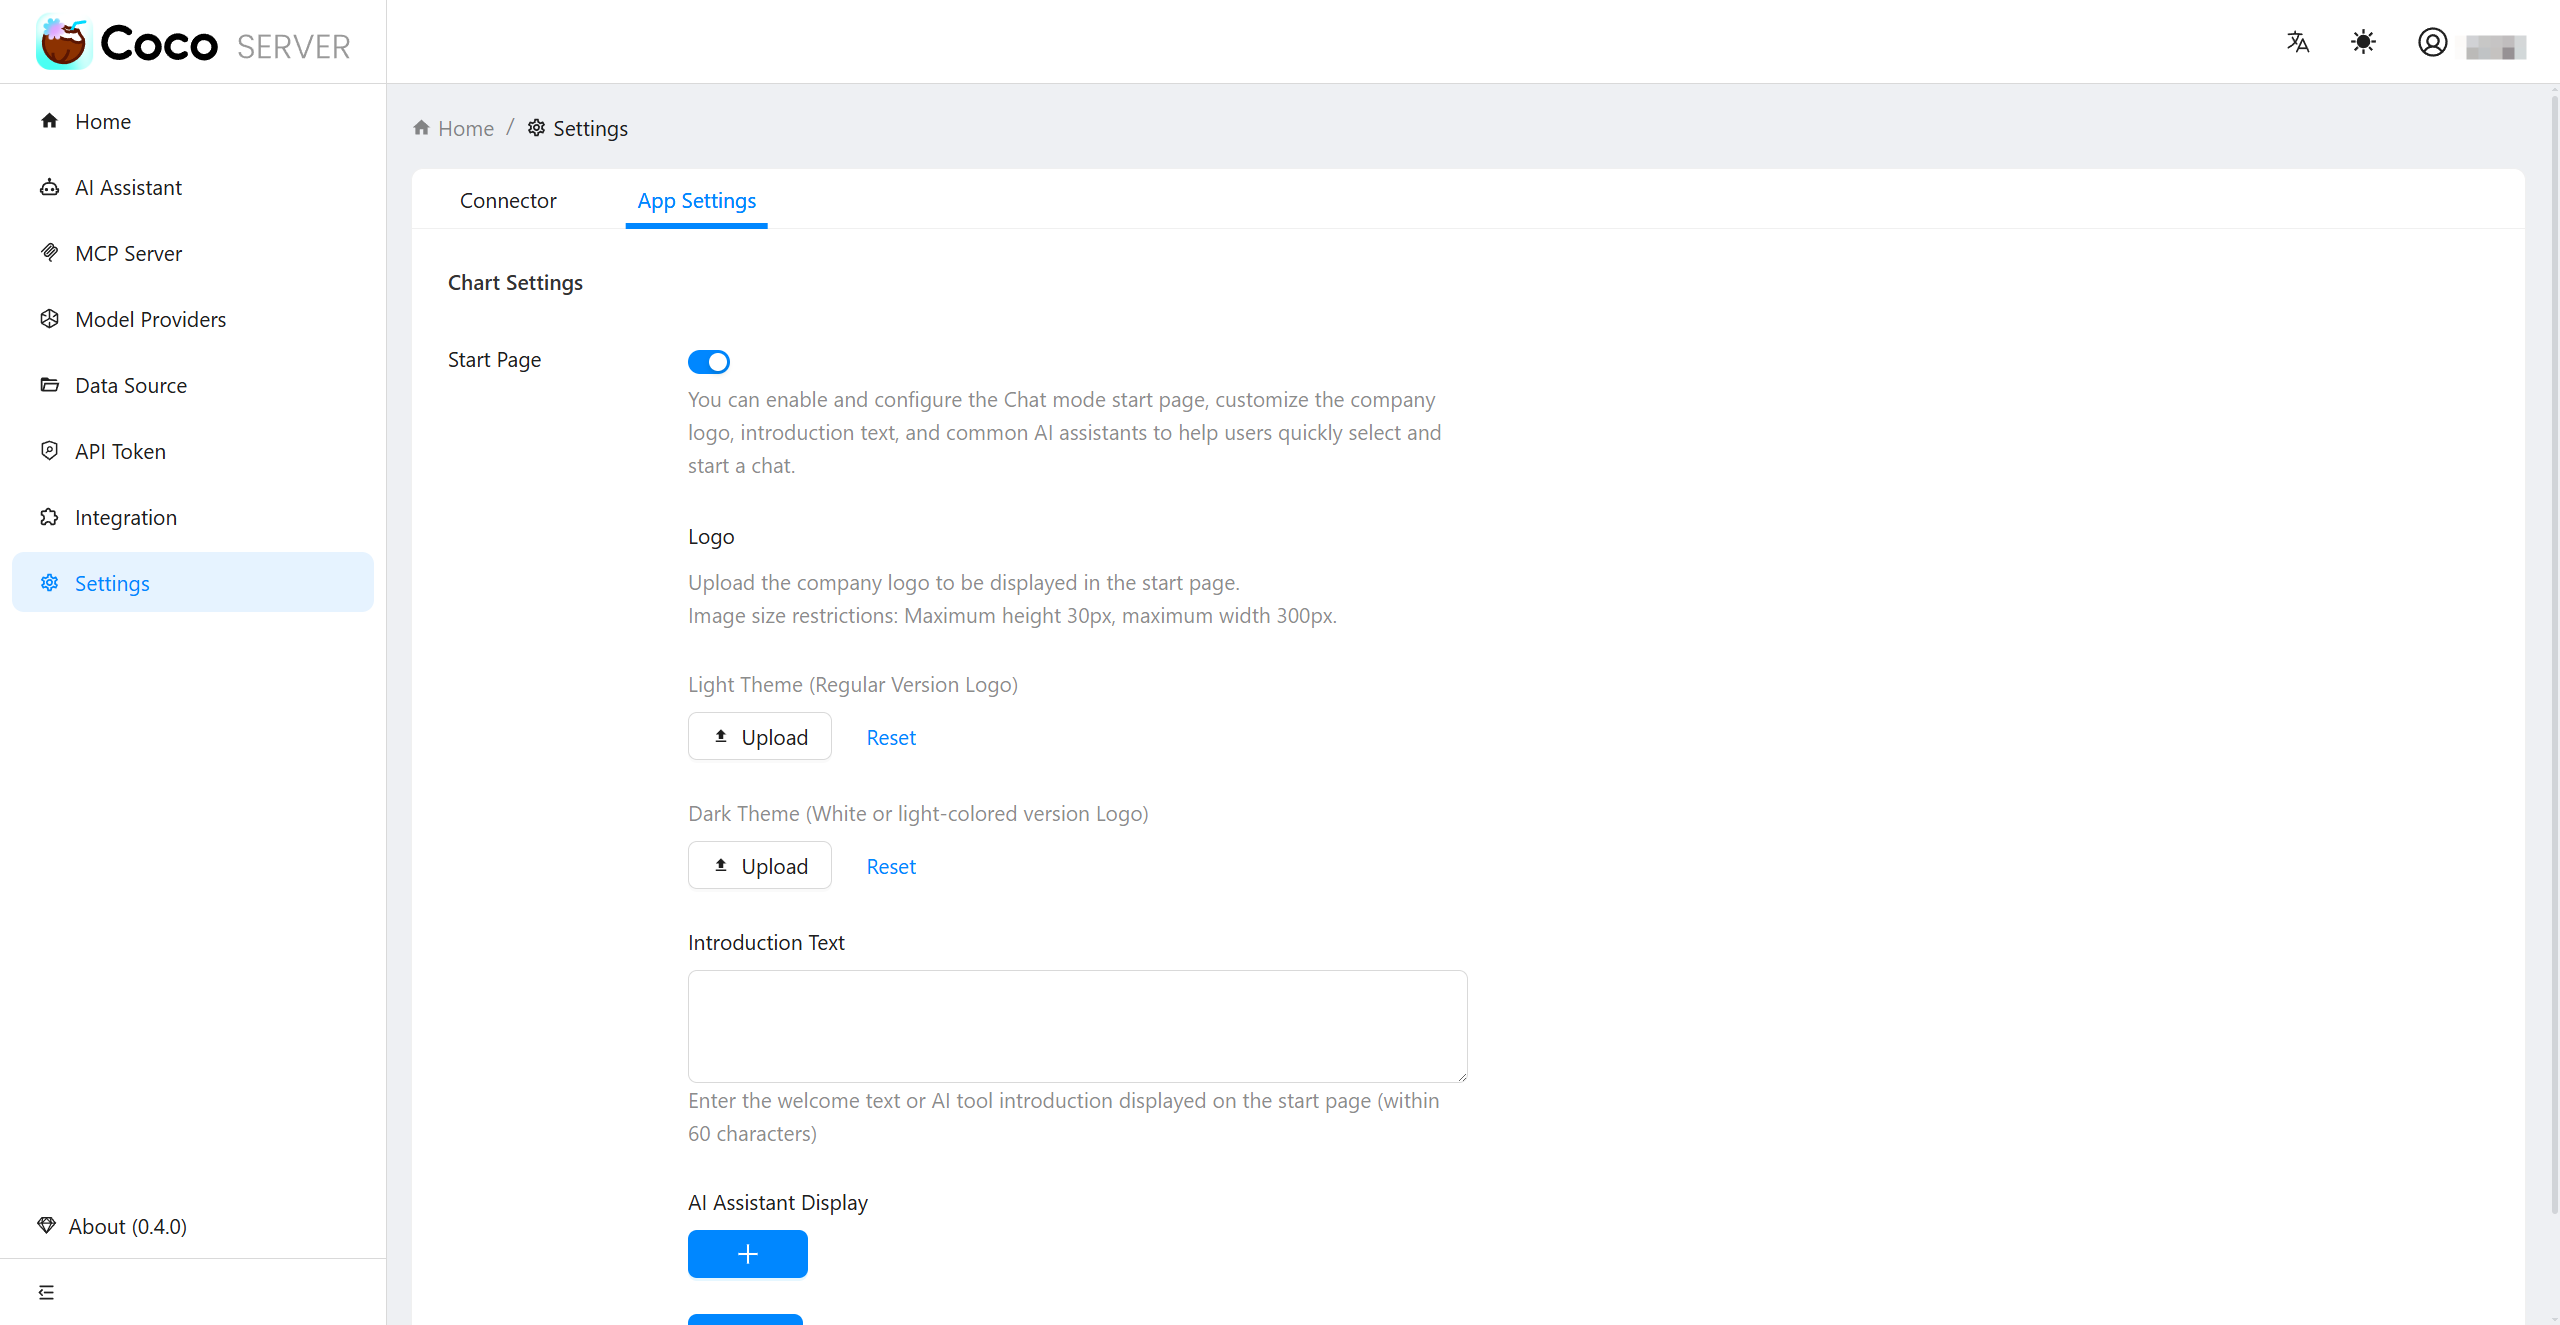
App Settings #
Log in to the Coco-Server admin dashboard, click Settings in the left menu, and then click tab App Settings to view app settings, as shown below:
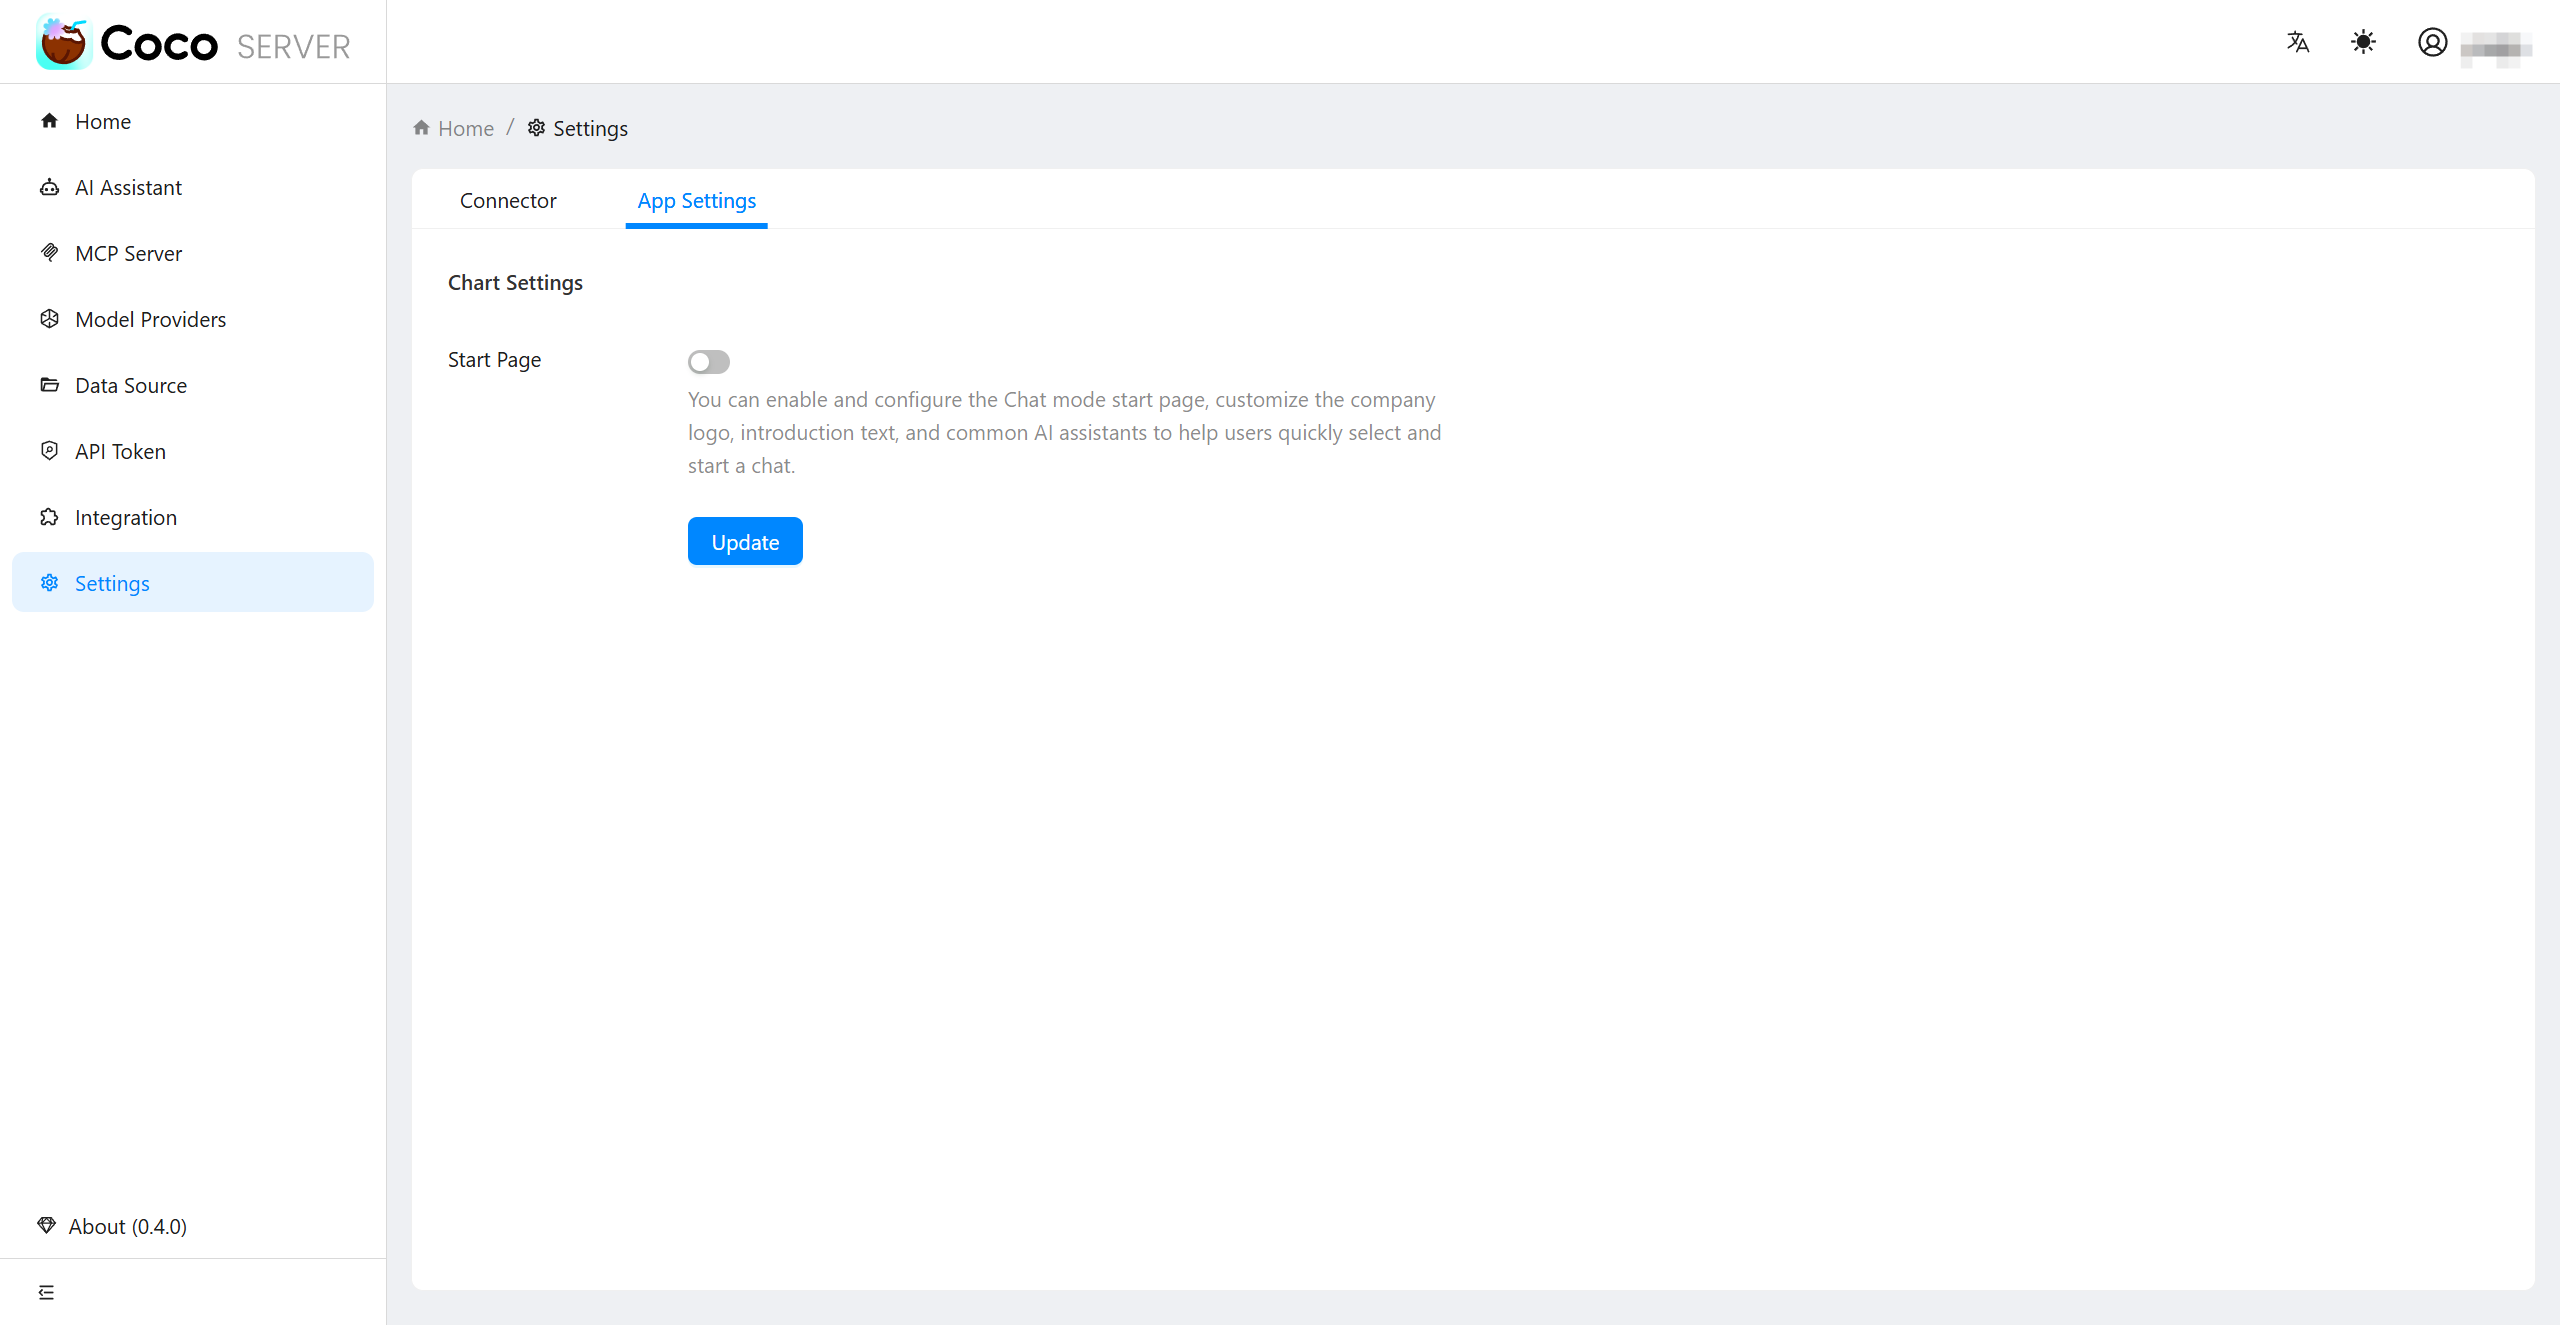
You can set whether to enable the chat start page and configure the relevant parameters here.